What to do with an old hen

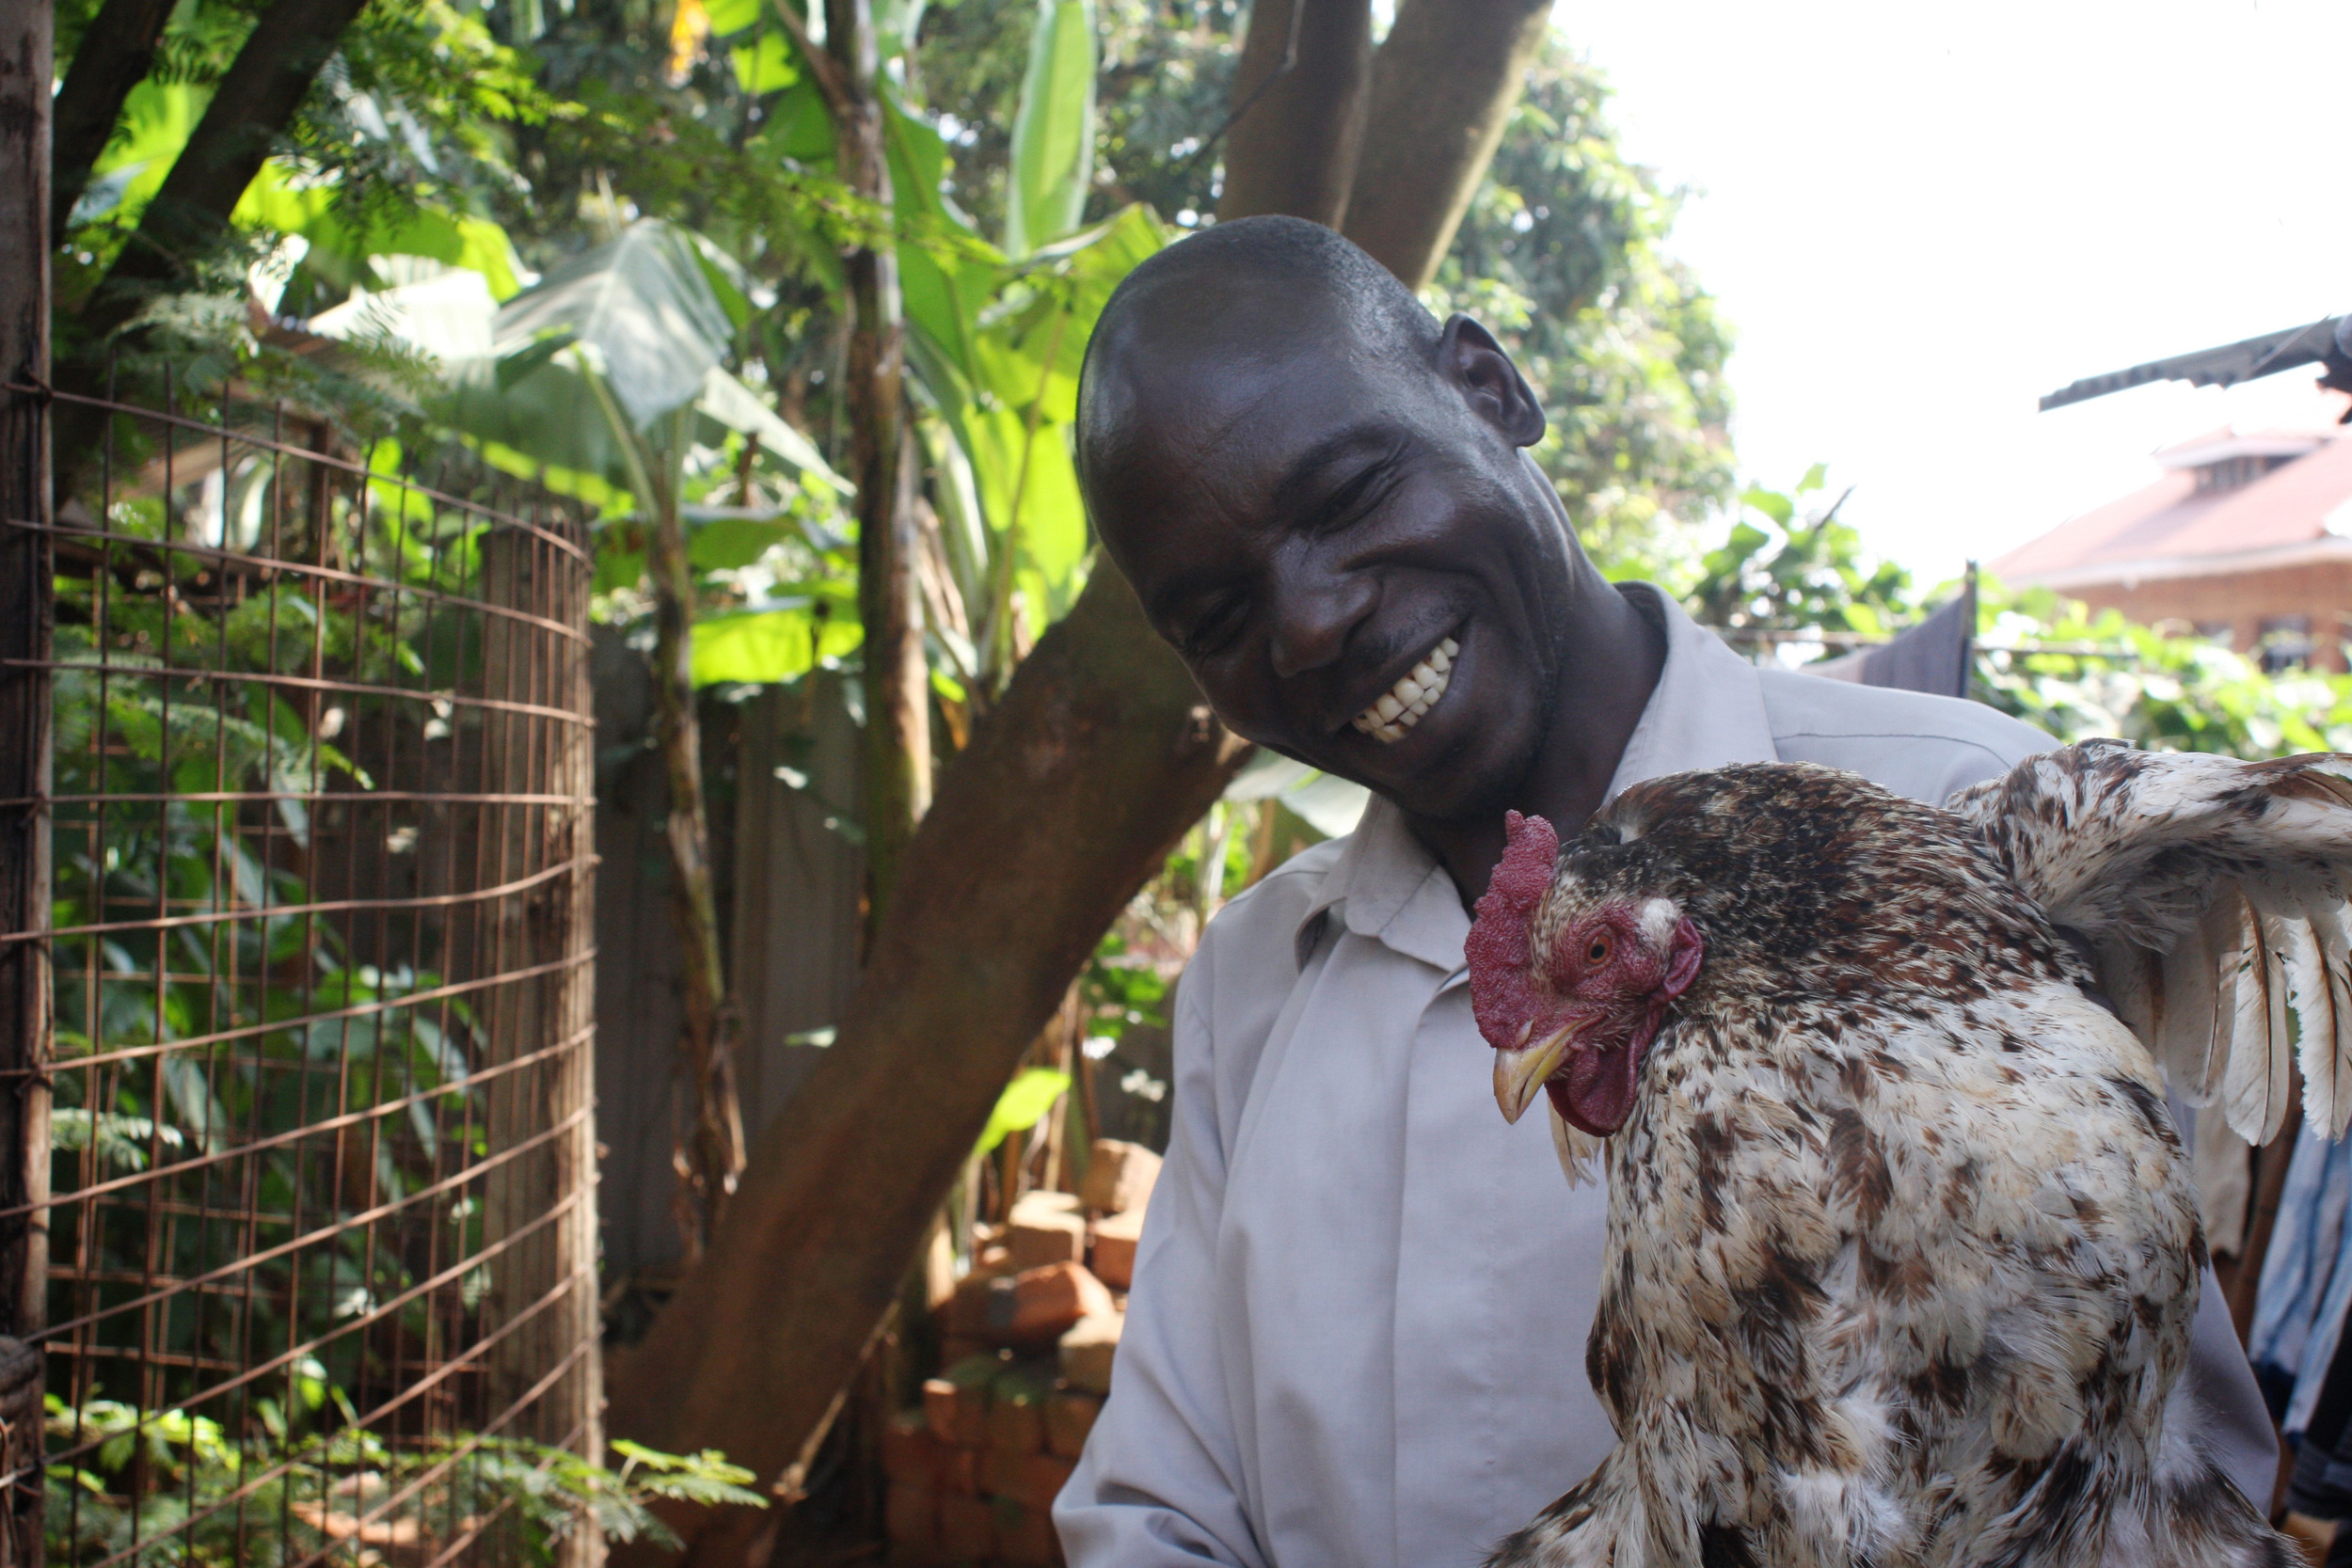
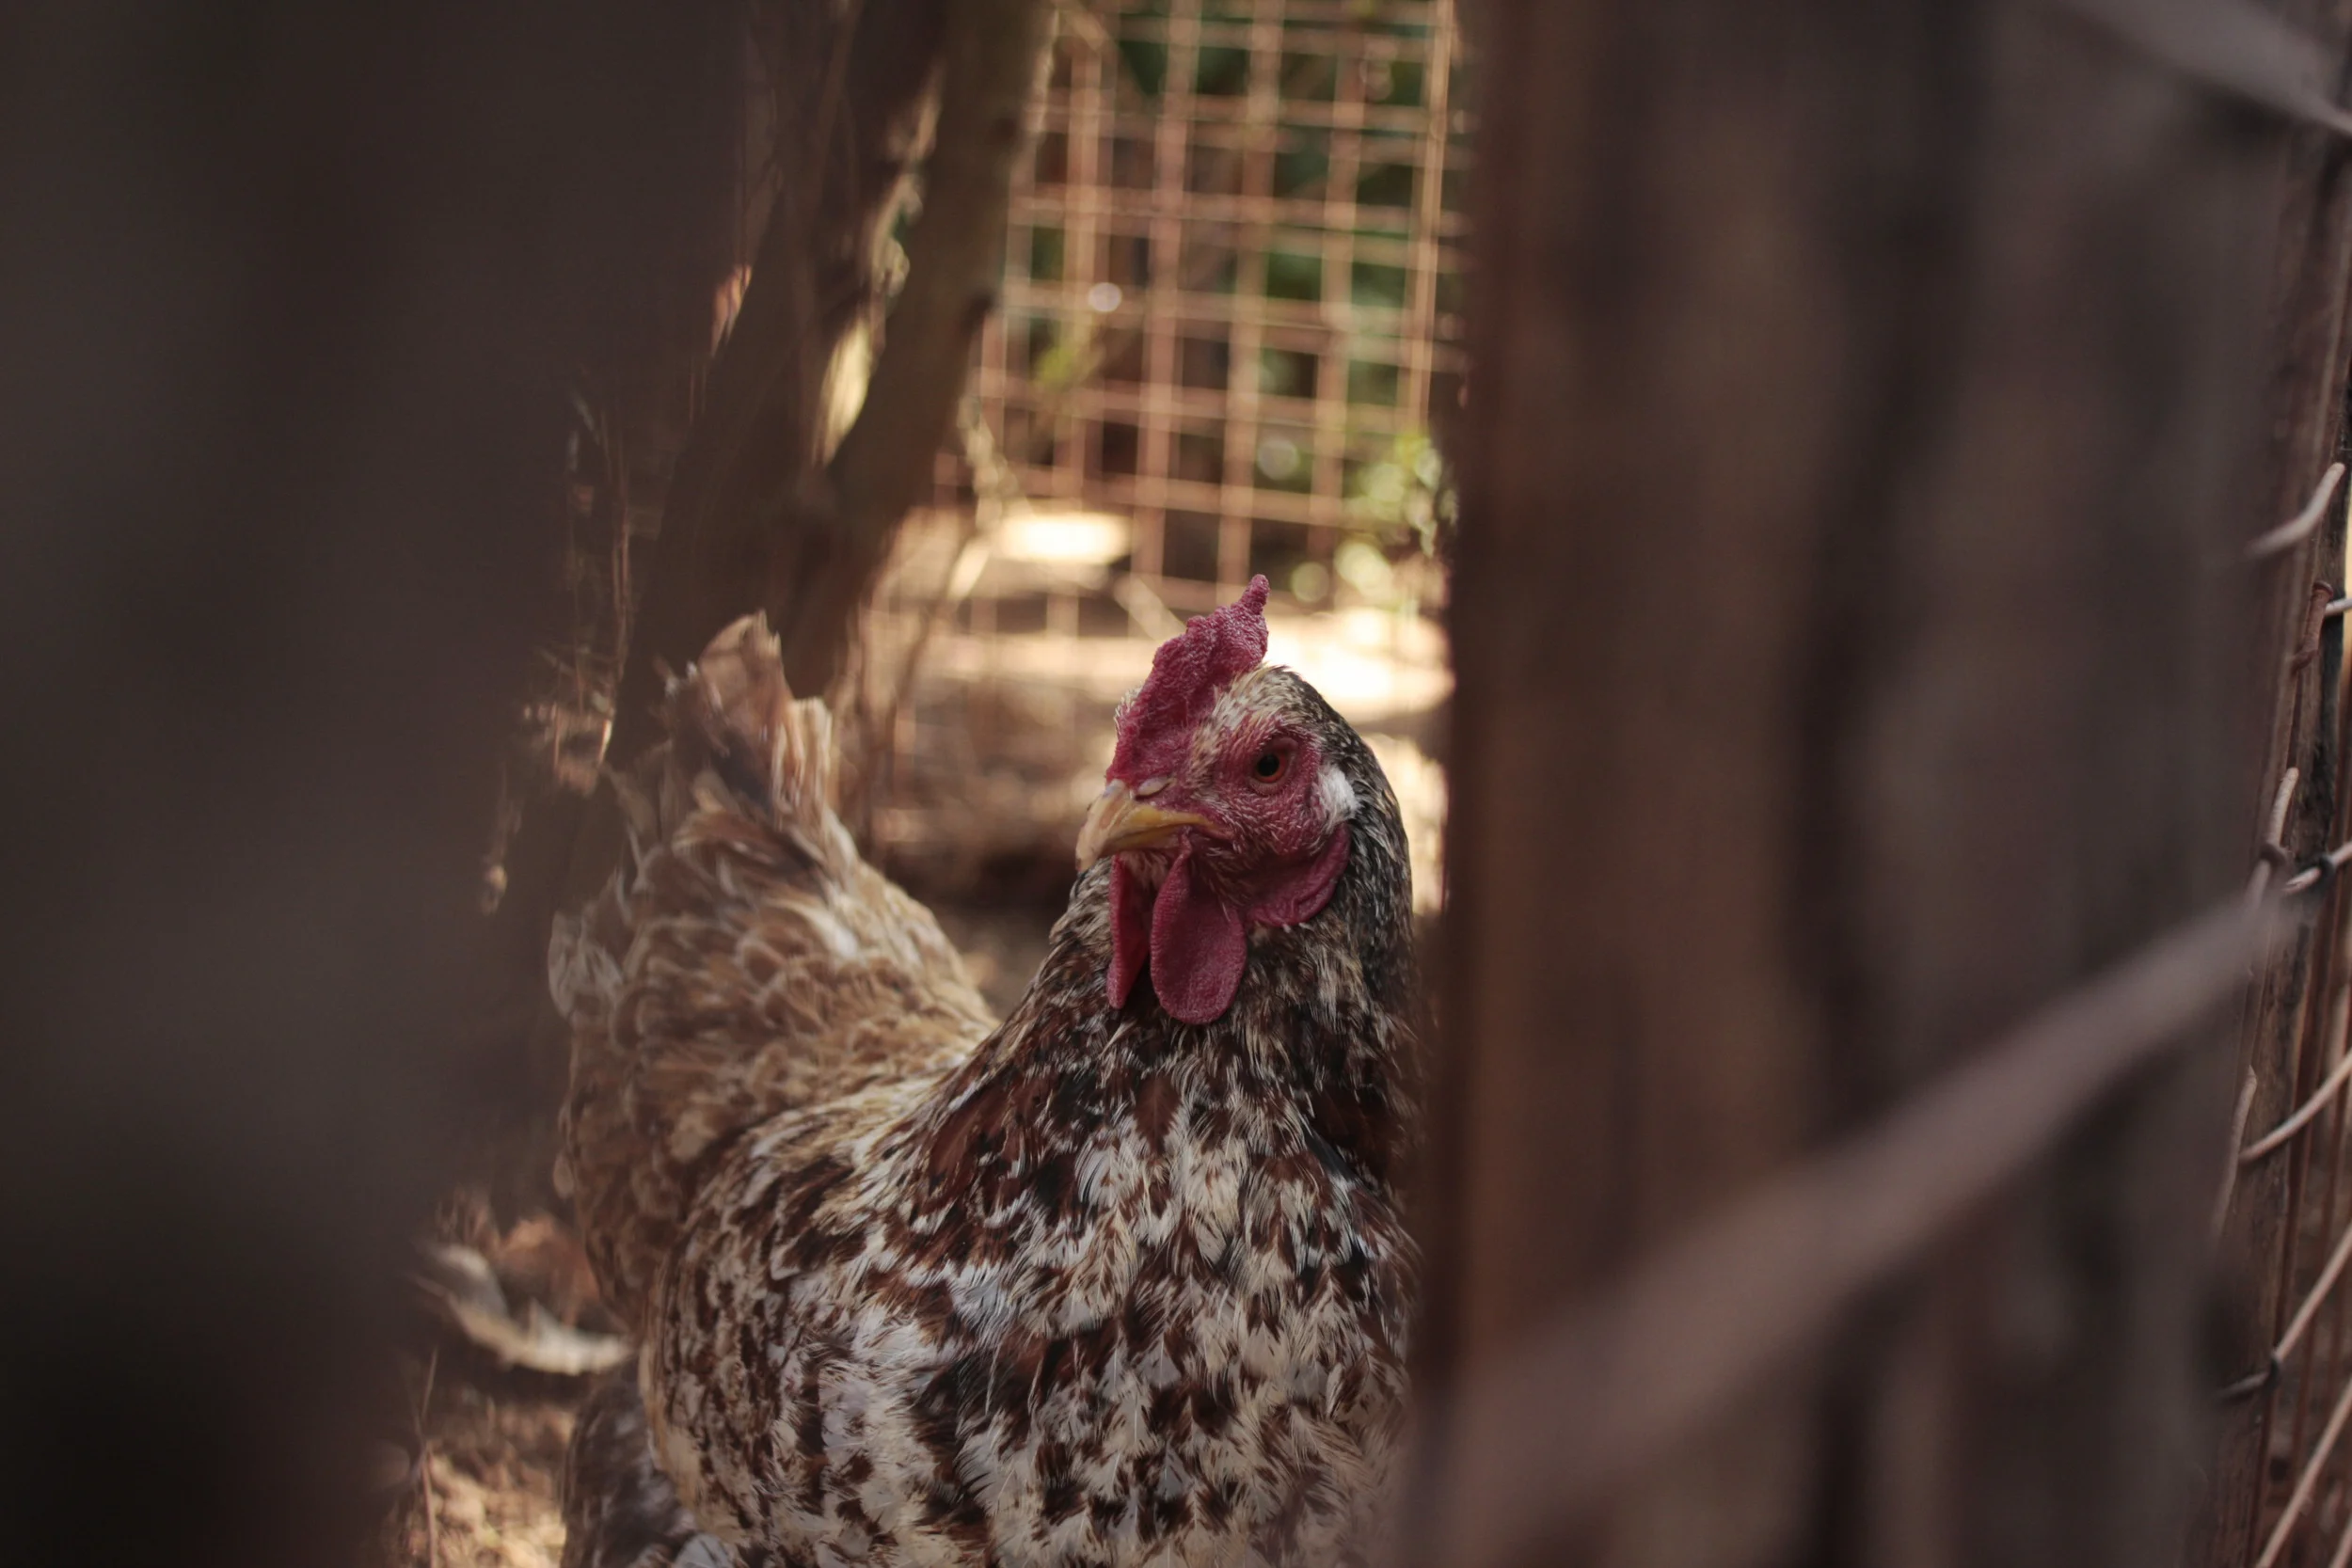
Our hens are getting old.  They are no longer laying eggs and therefore have become freeloaders, living off our food without giving anything in return. You know what that means: time to dine.

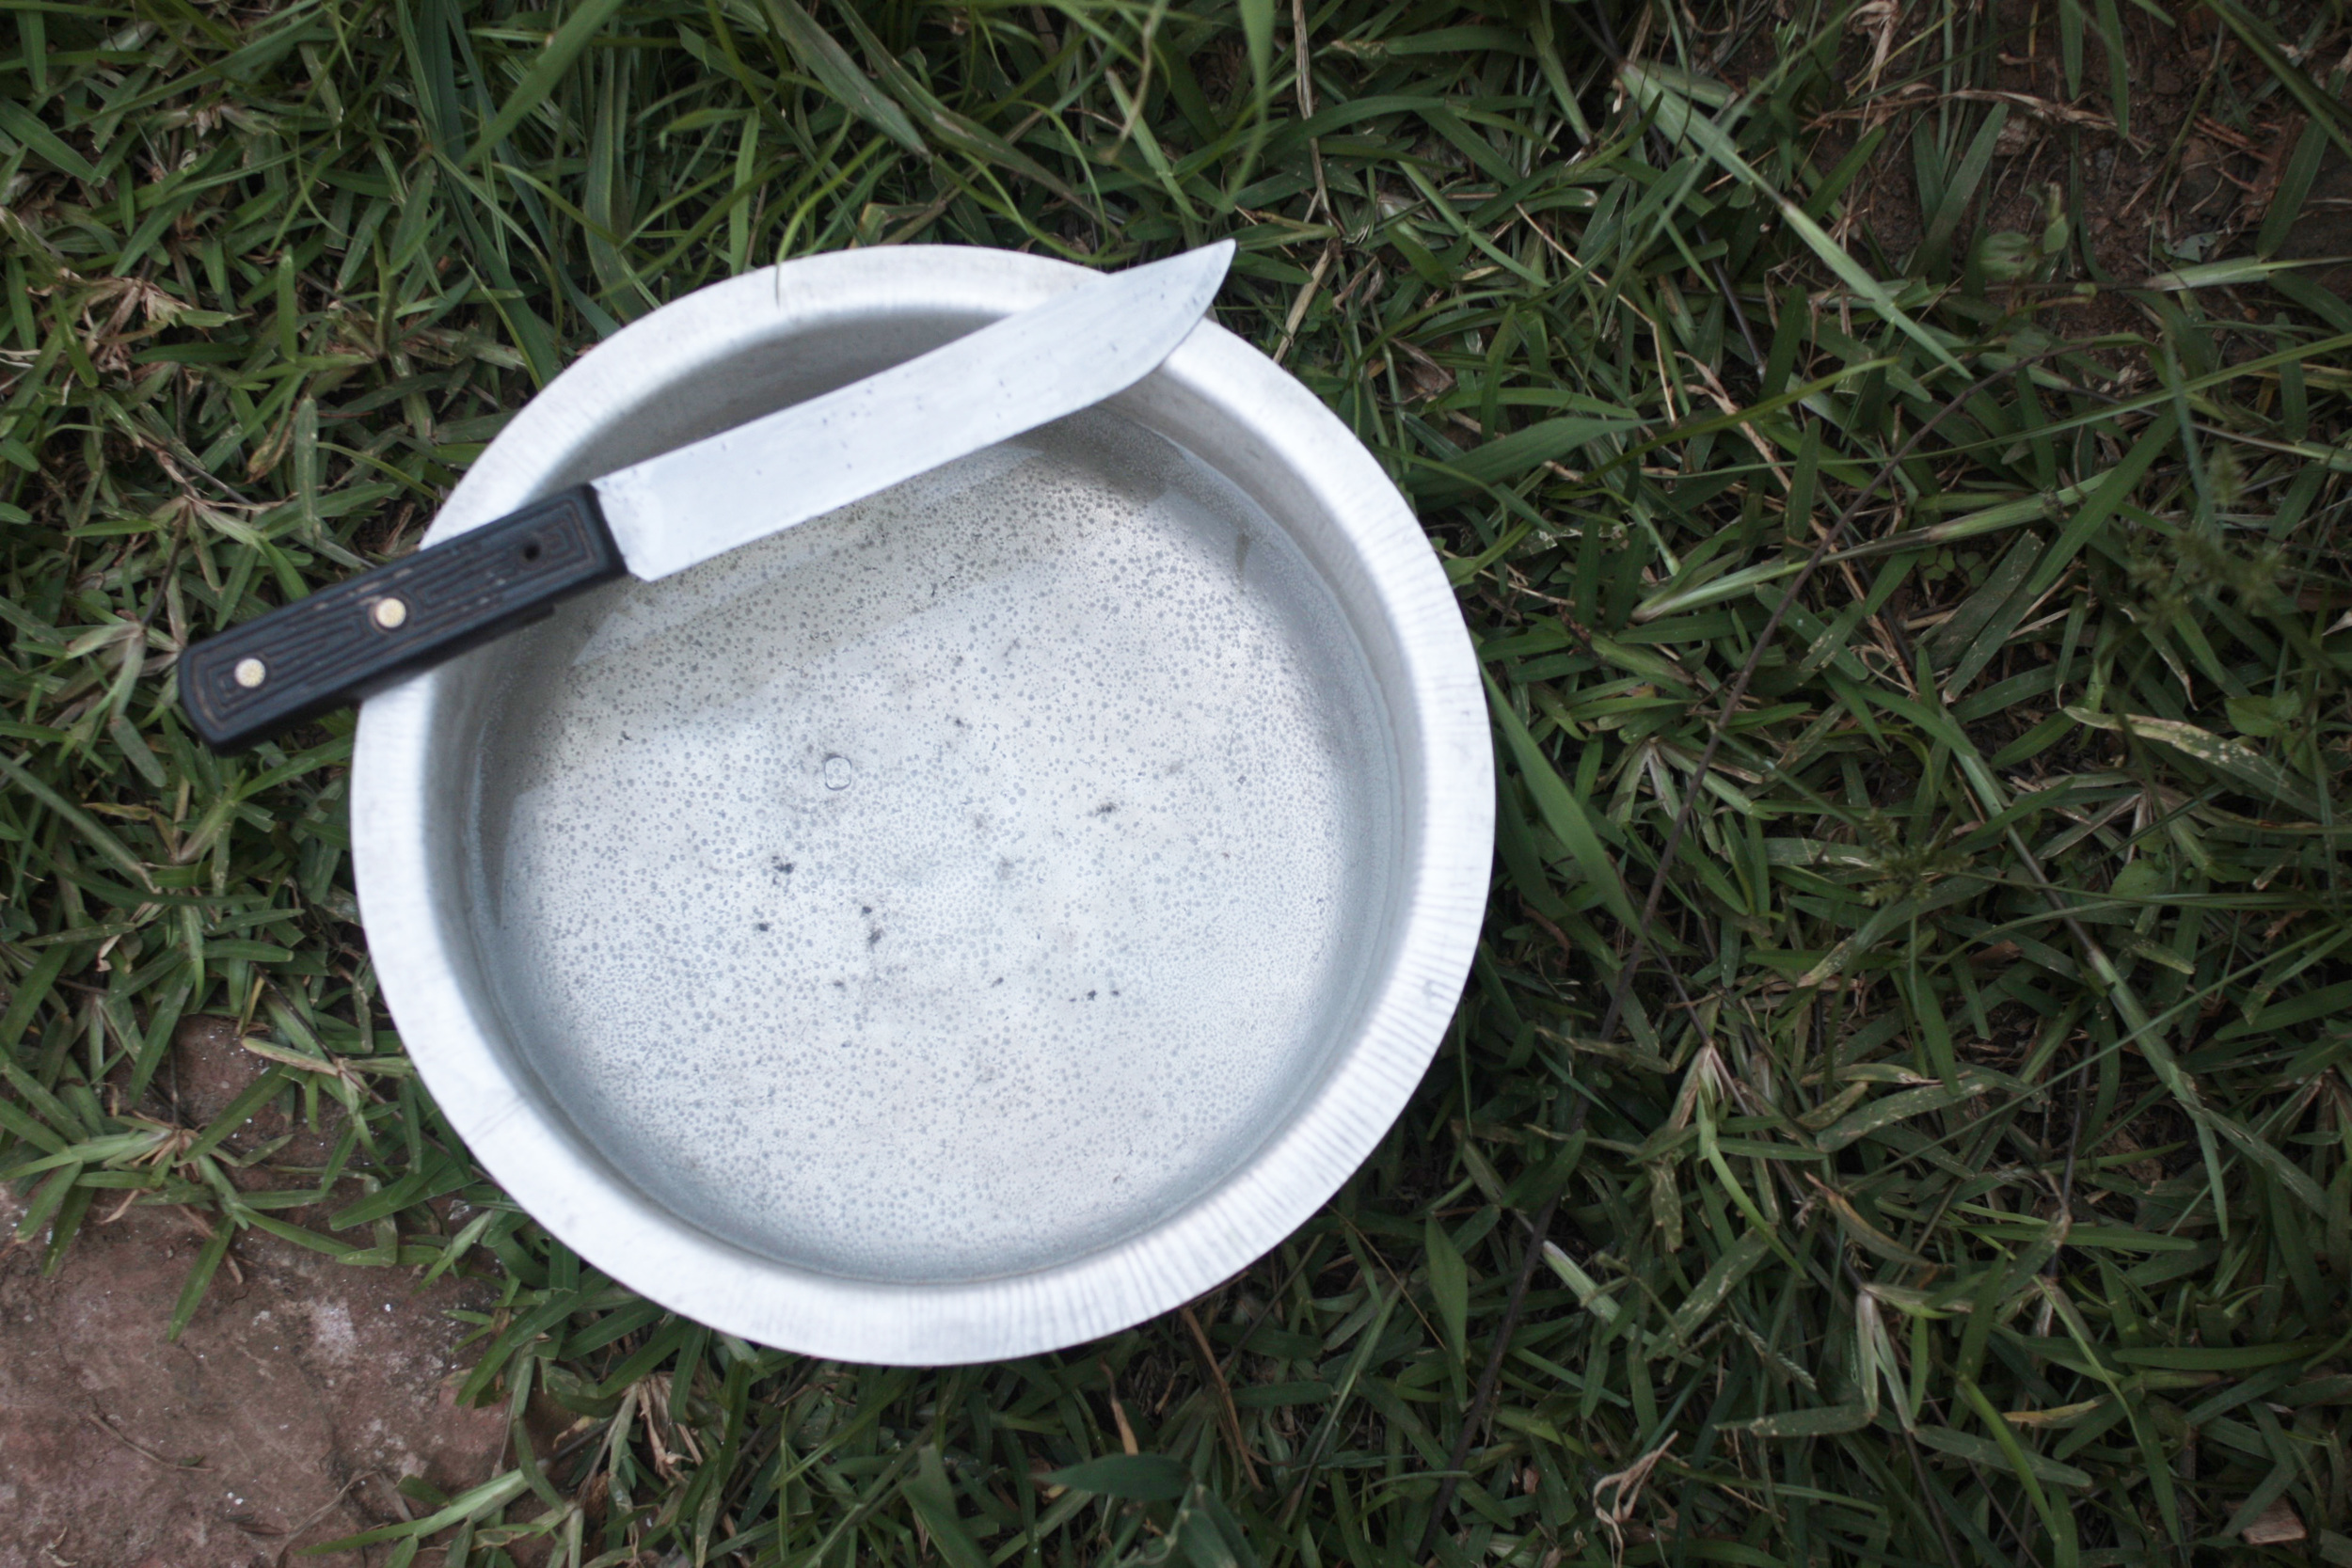
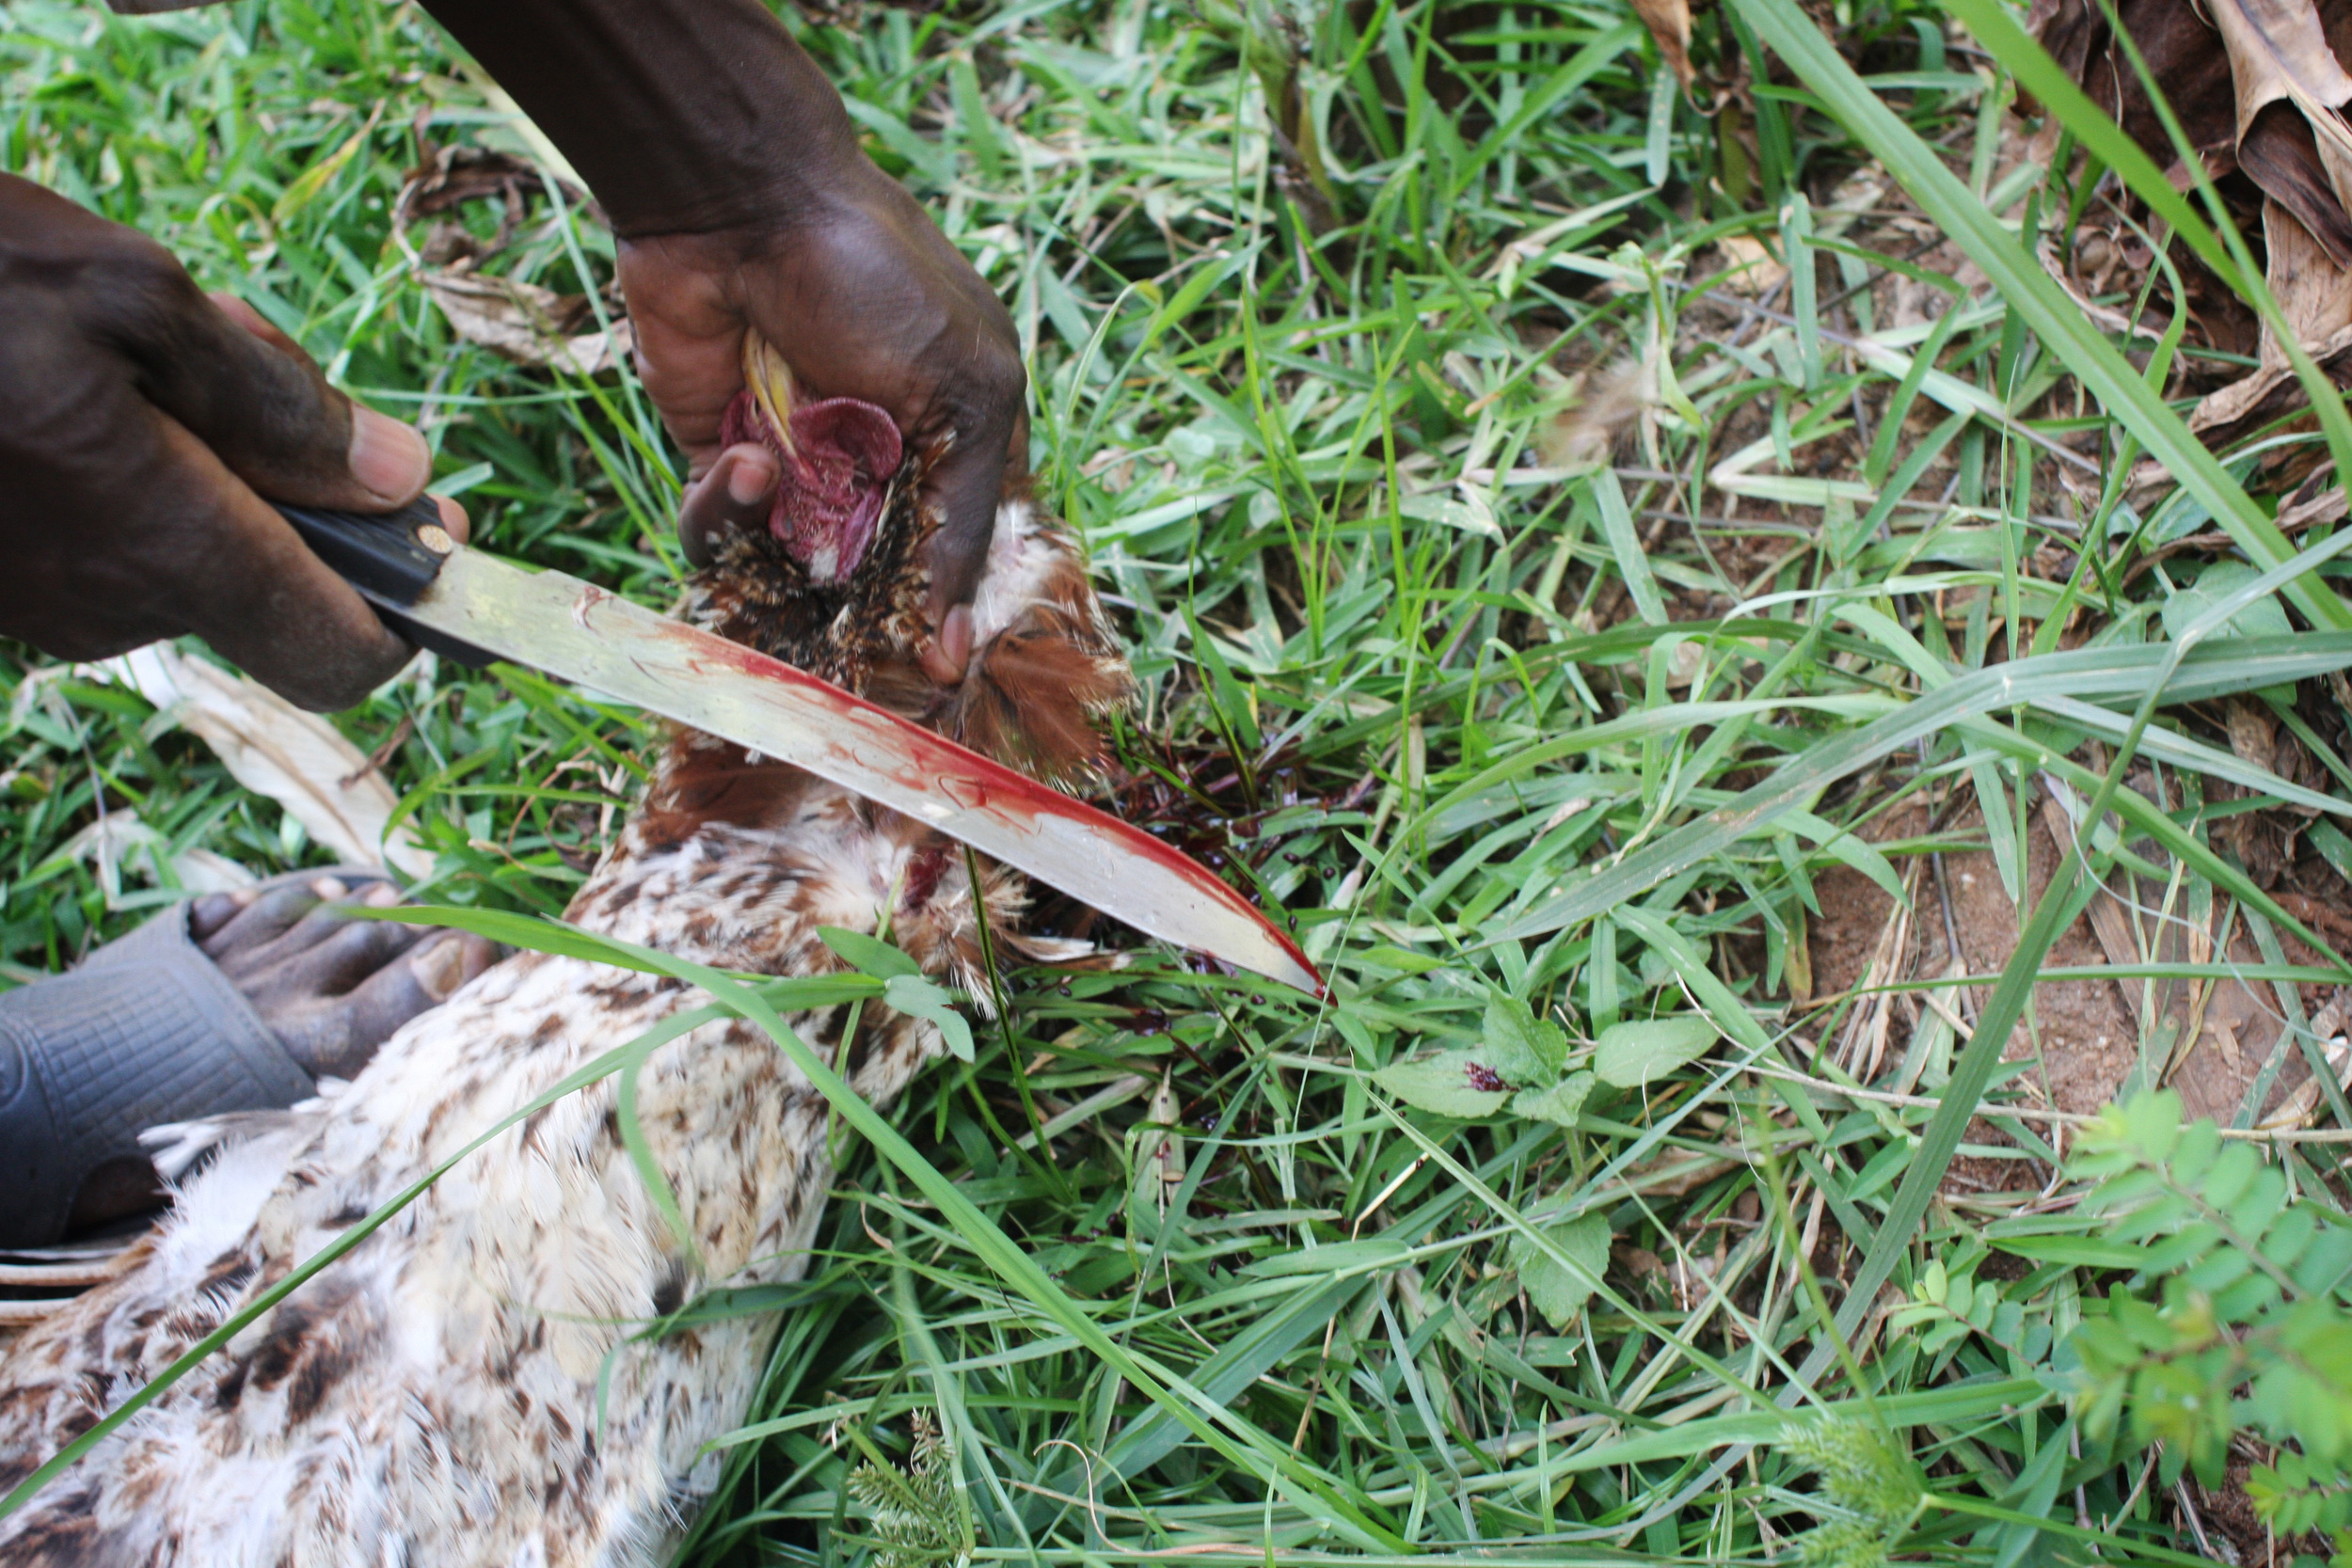
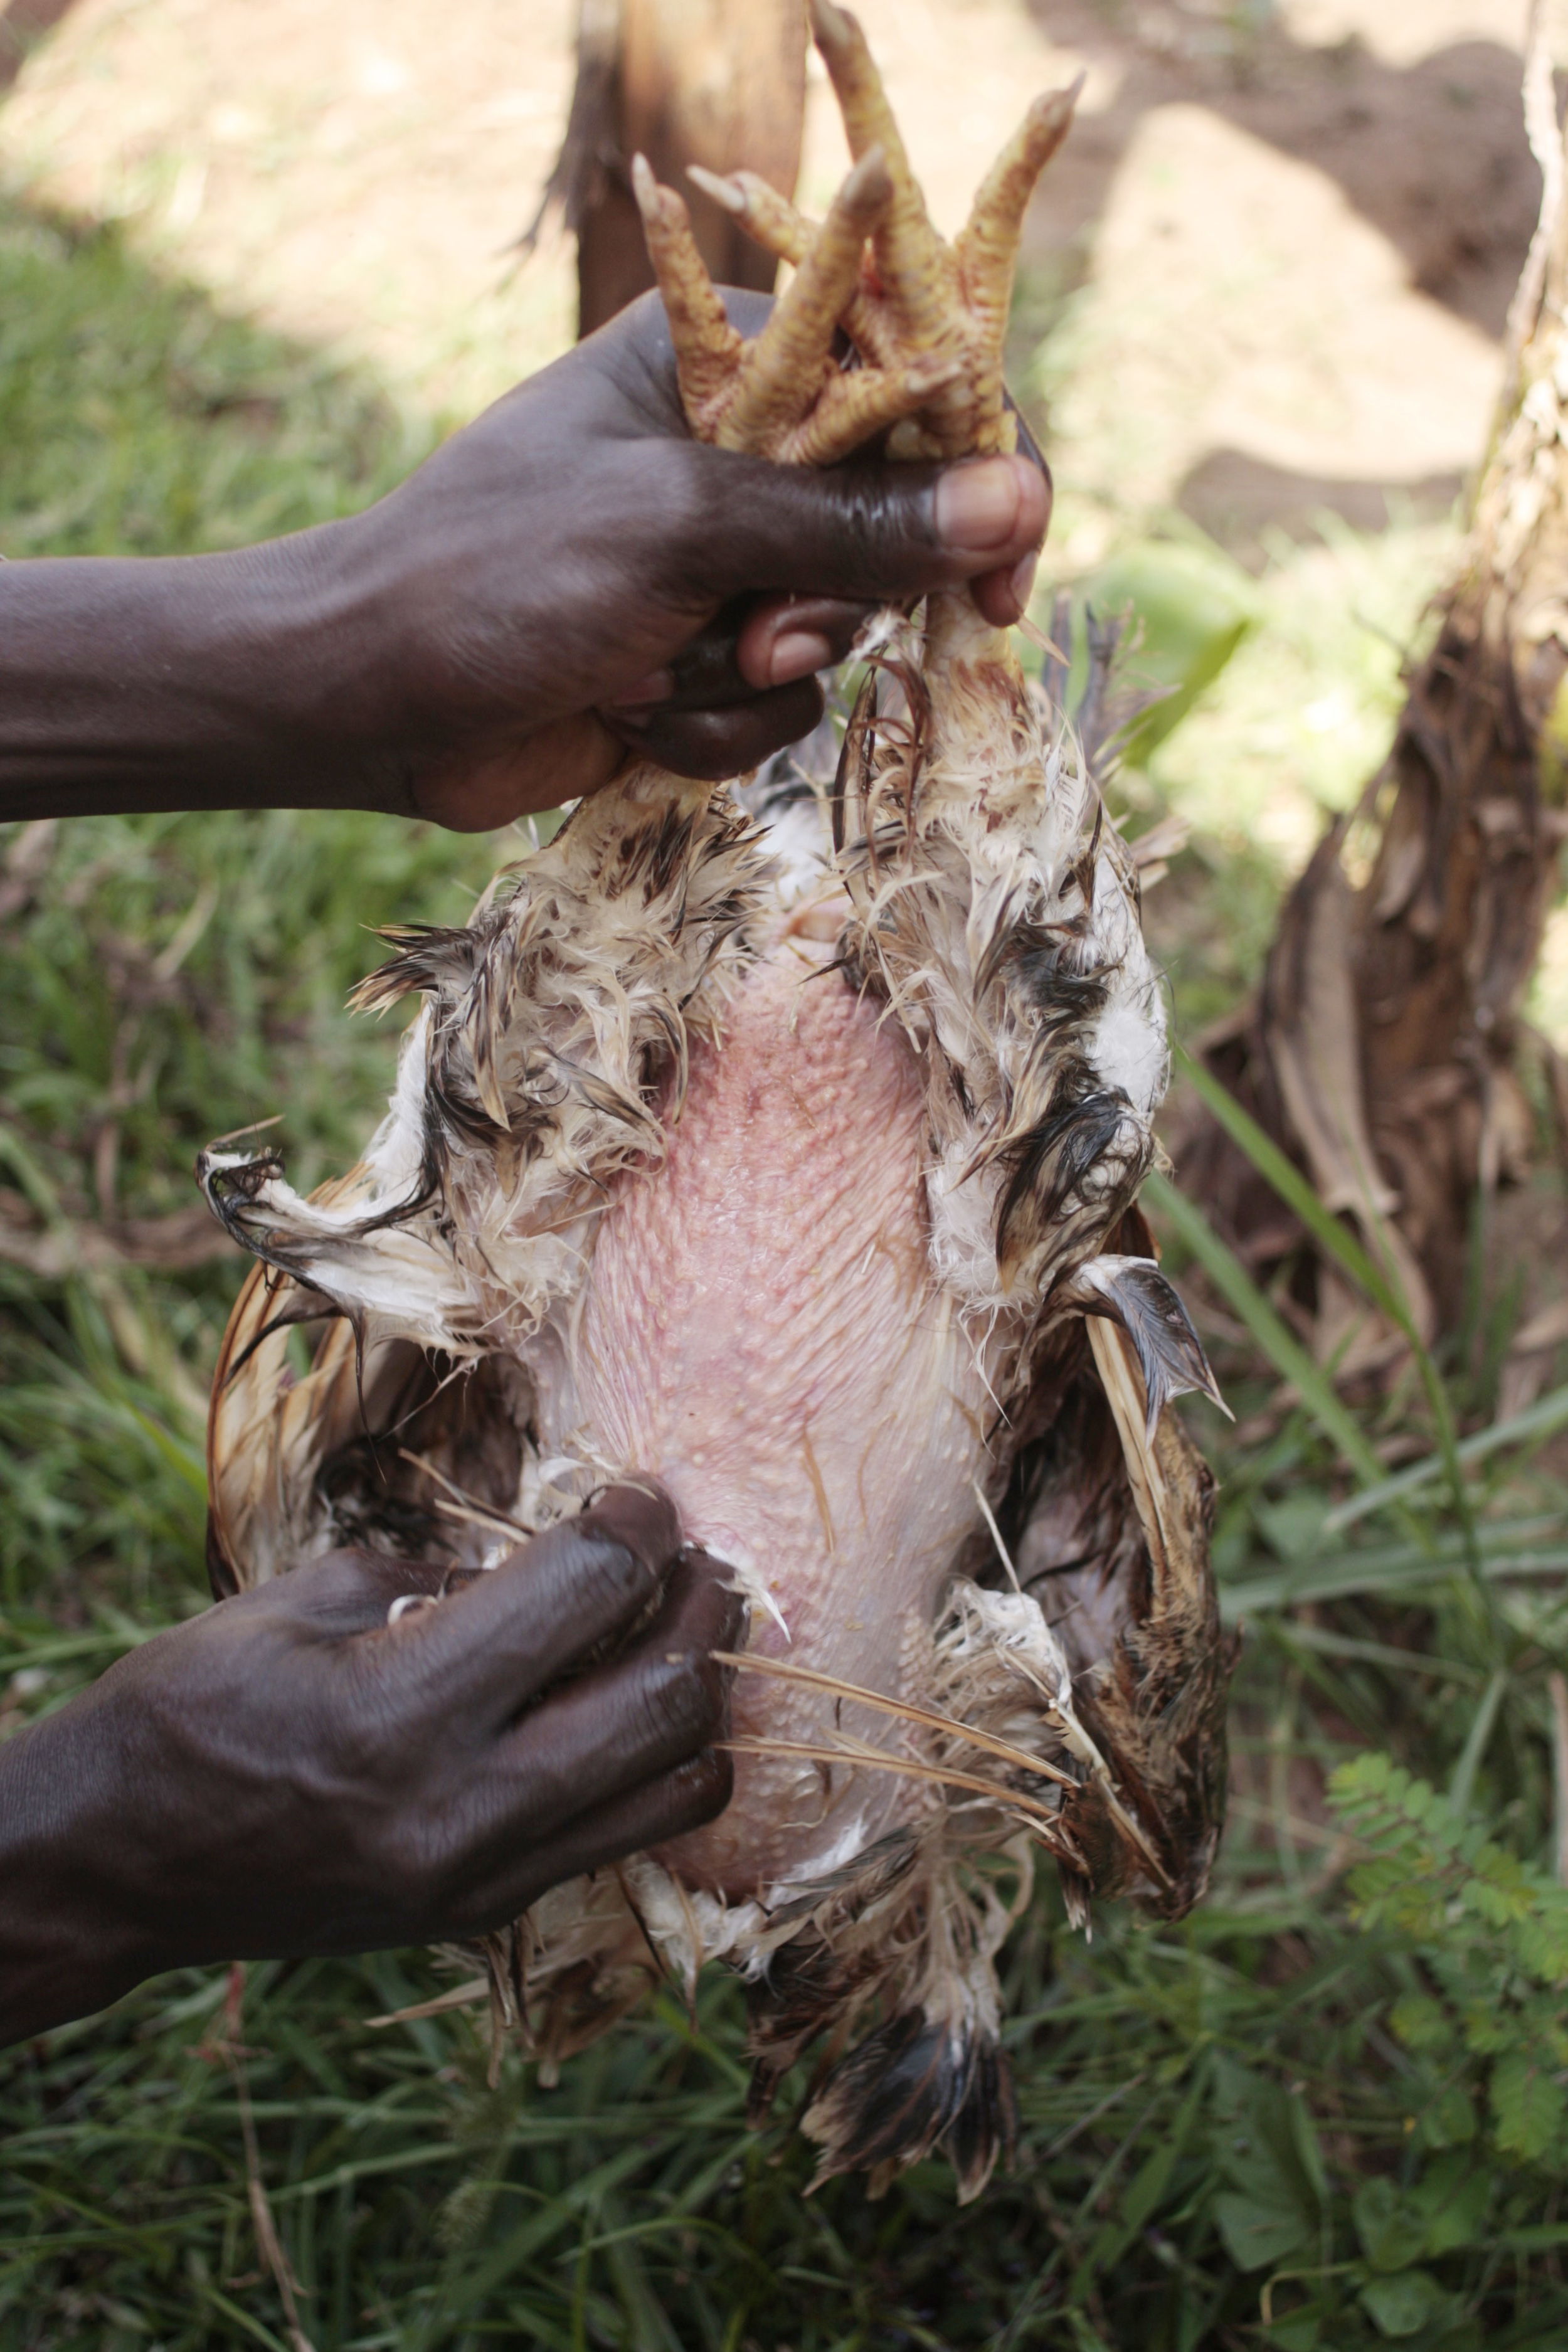
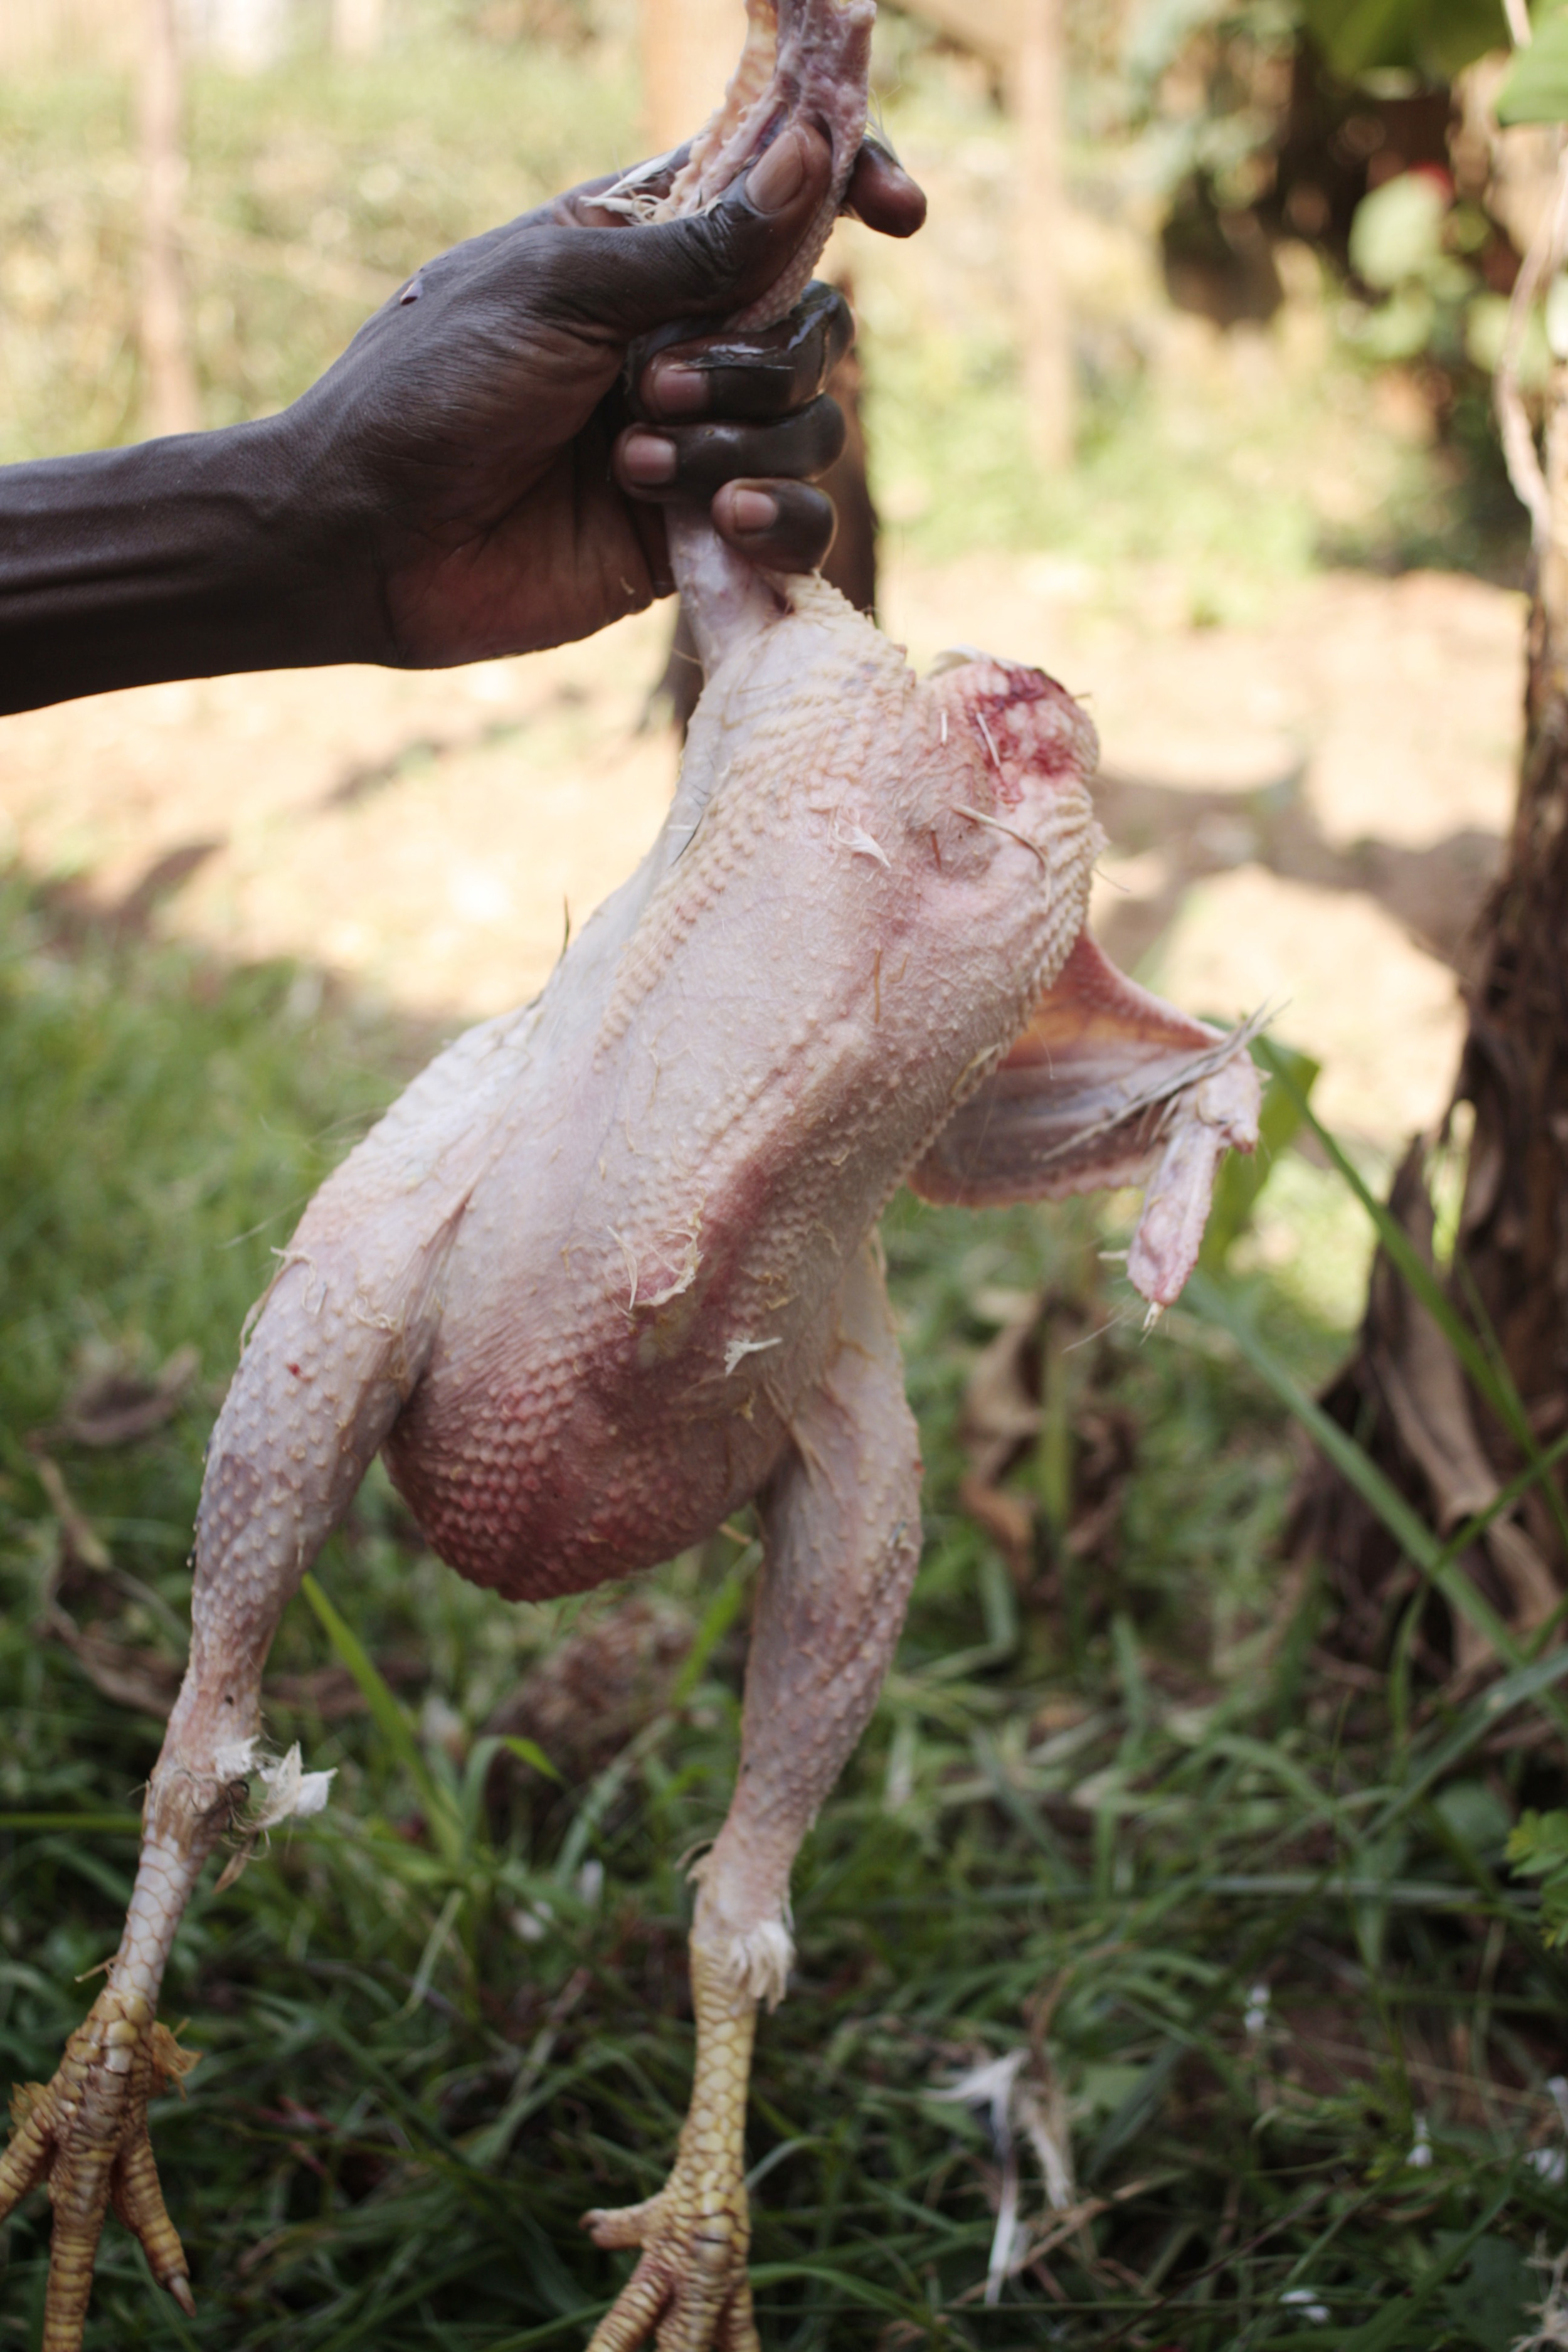
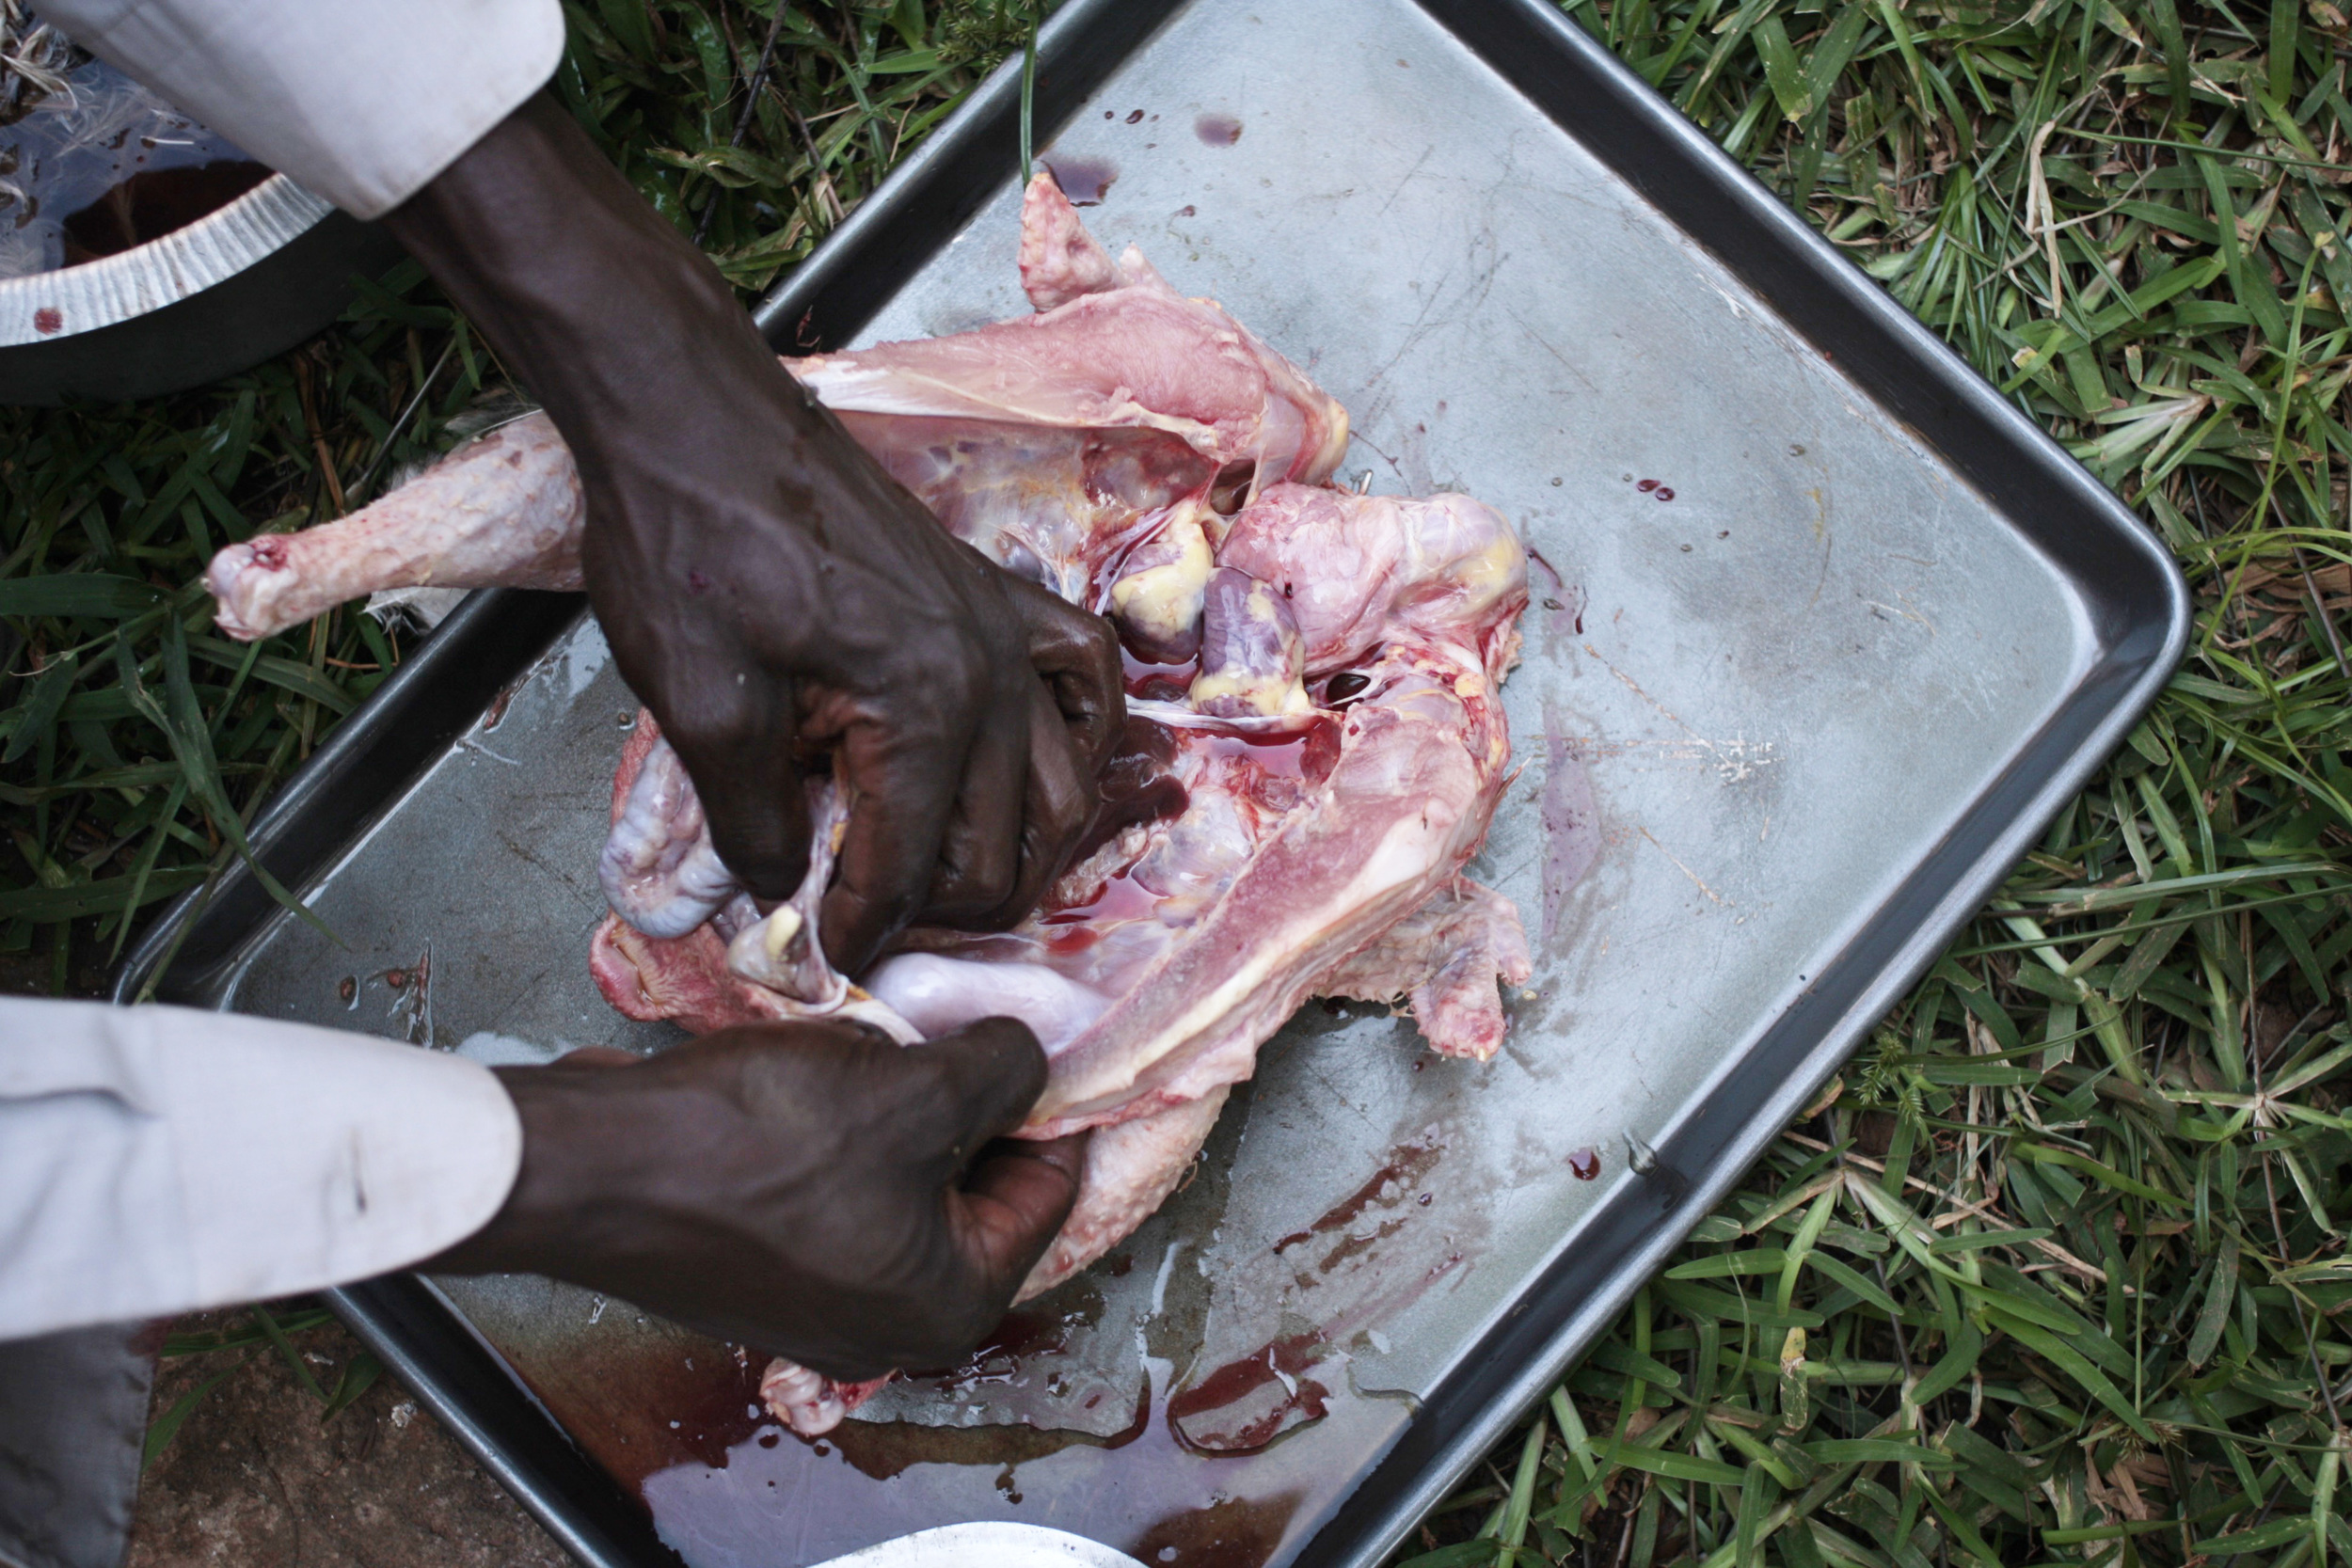
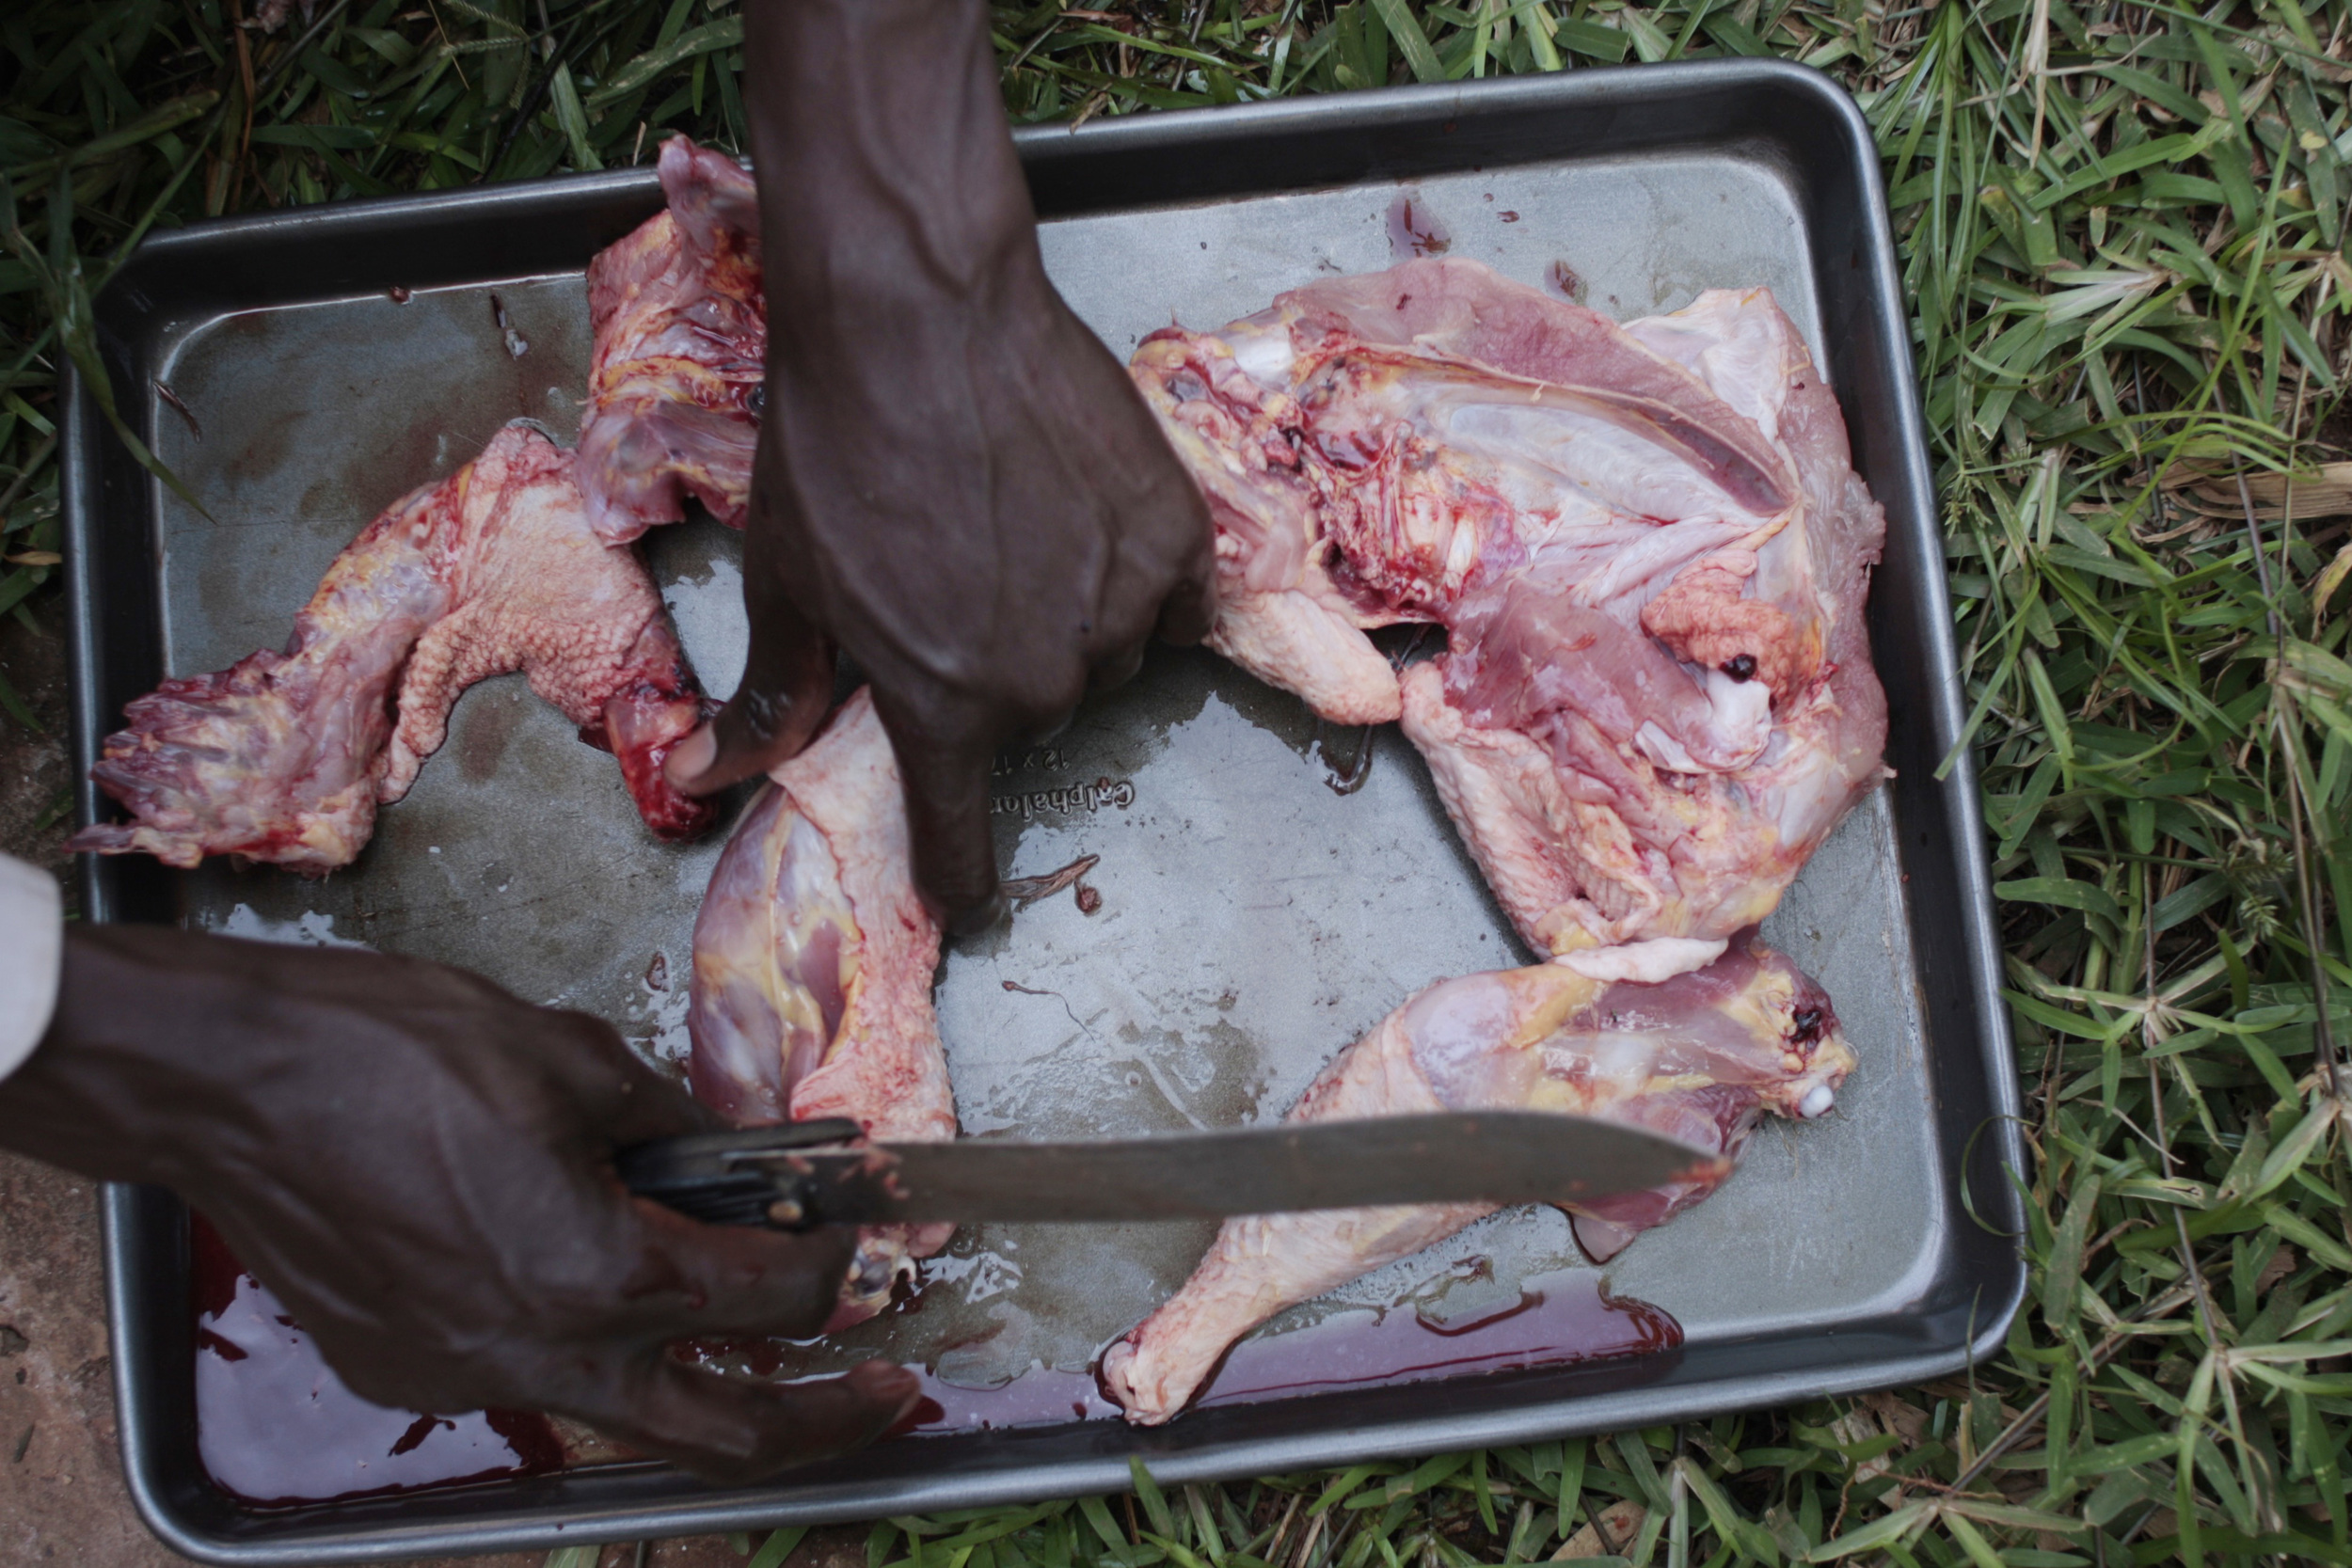
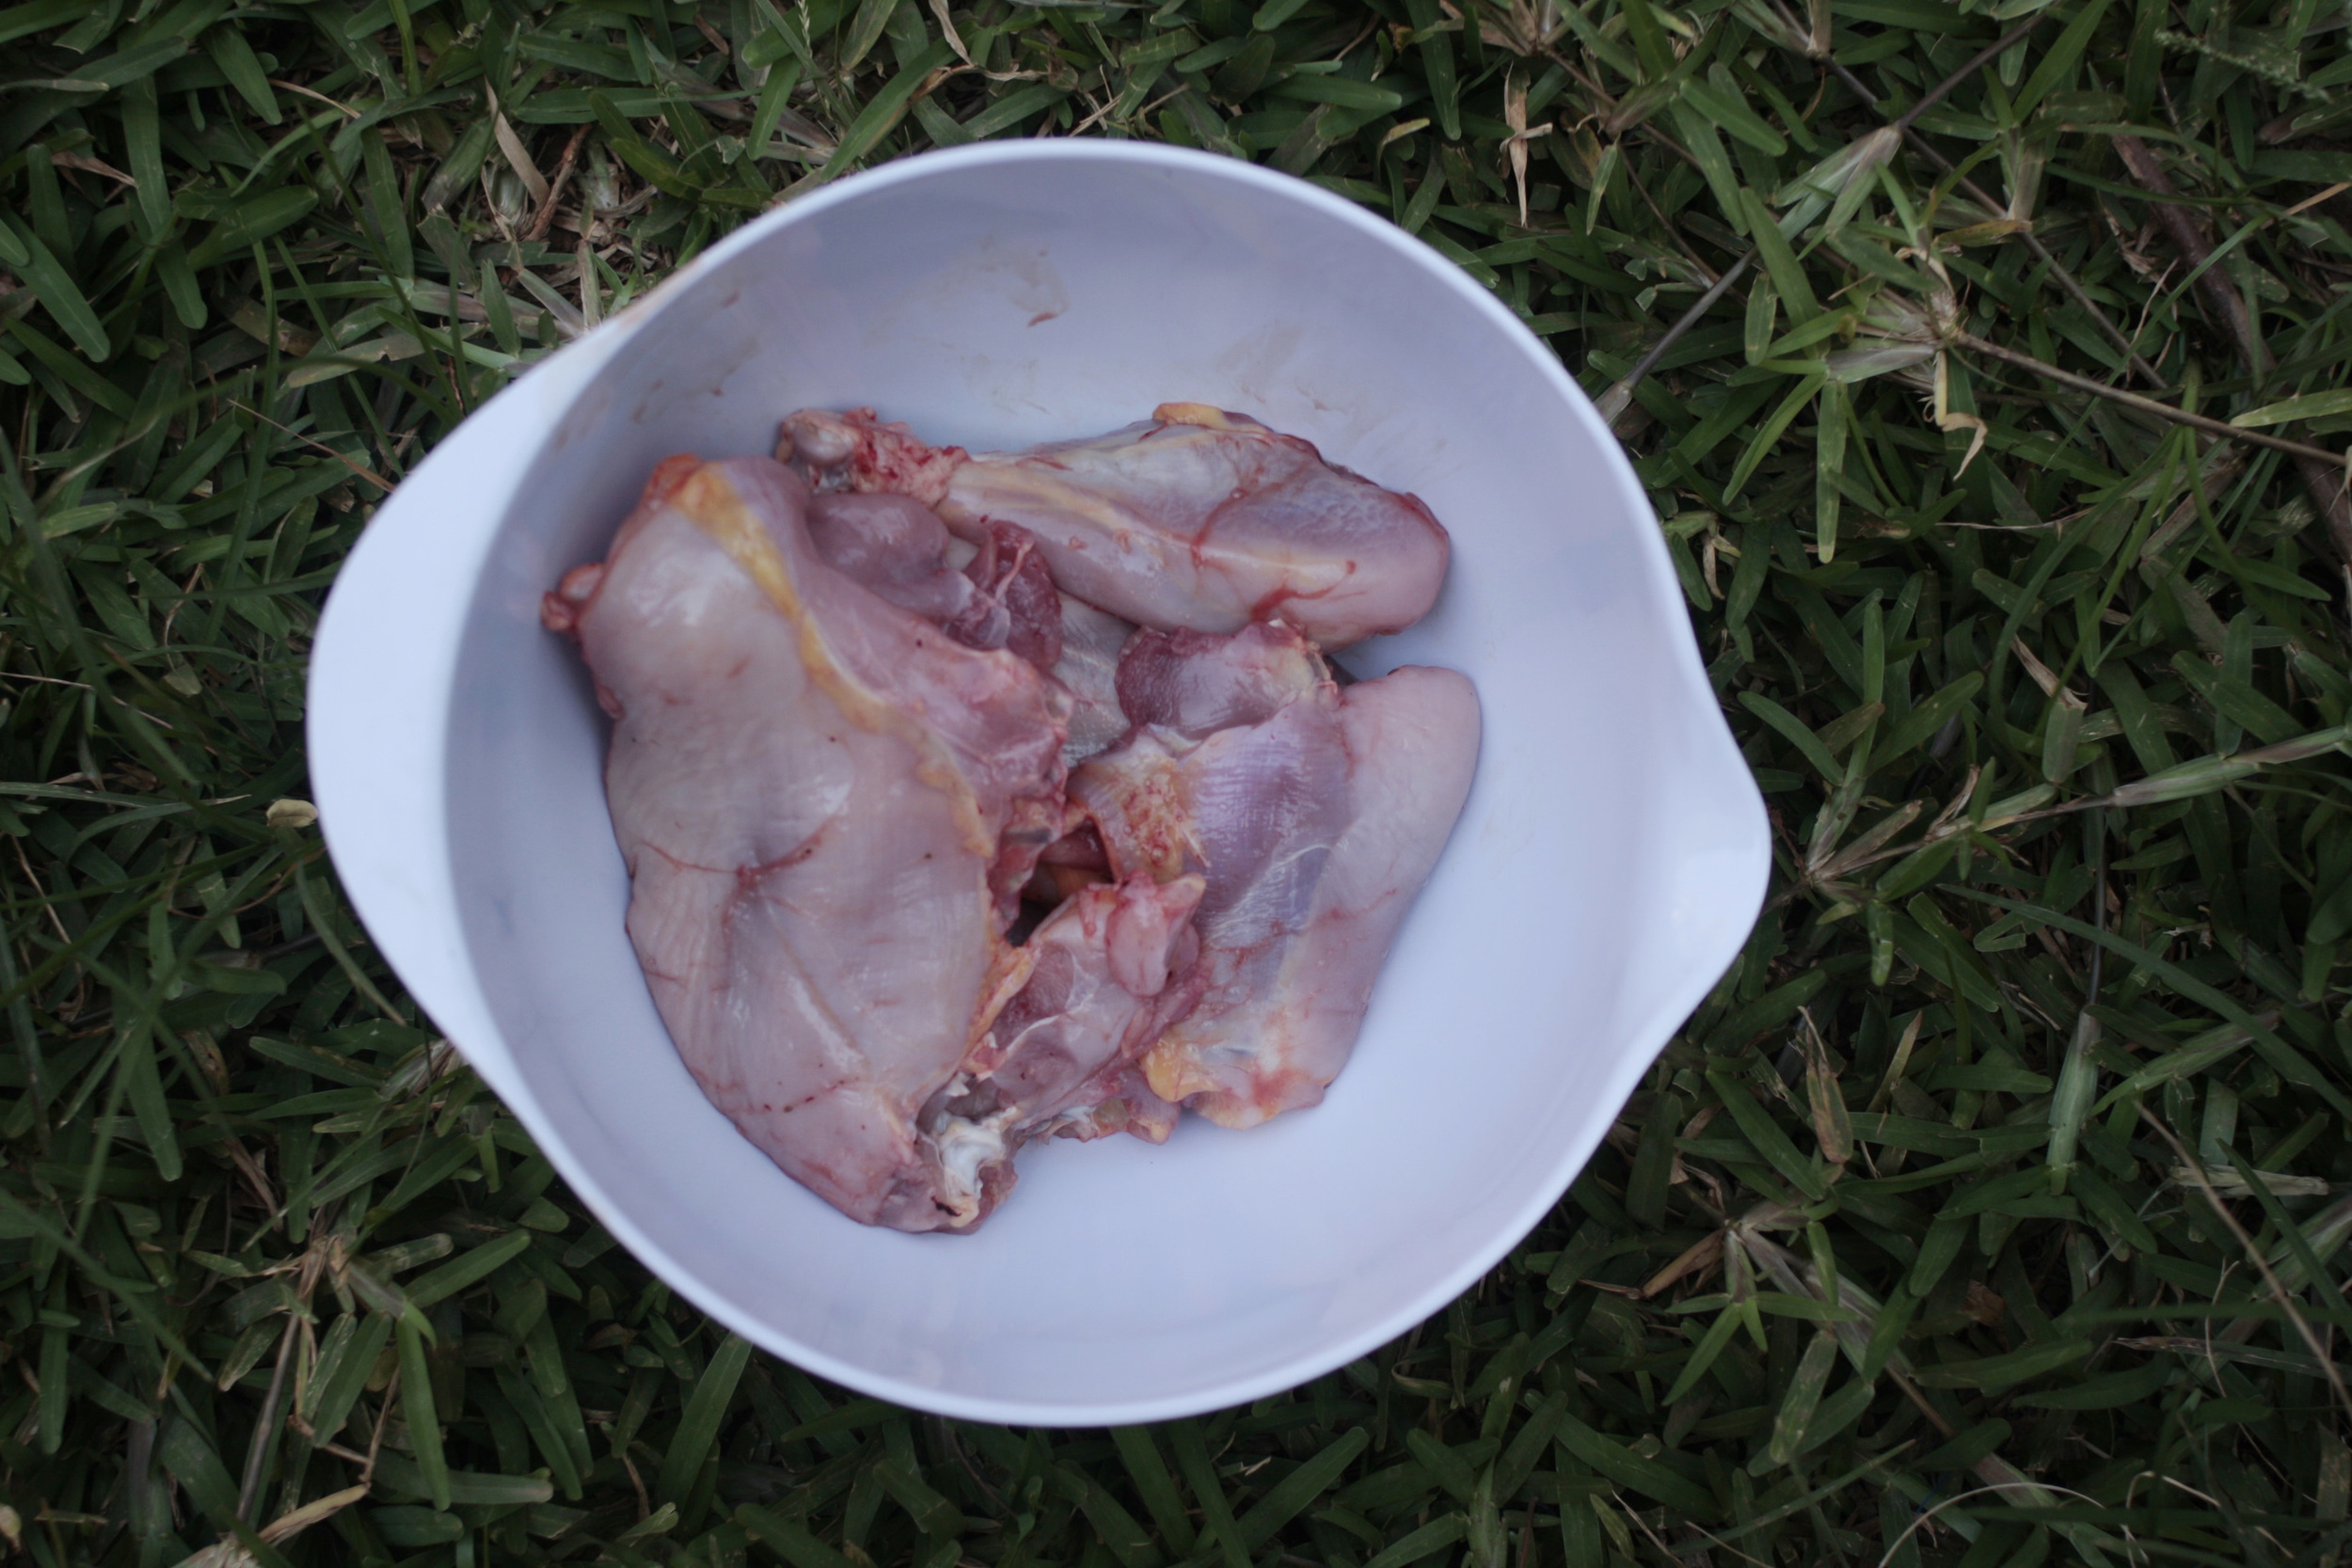
I had never seen the process of turning a live chicken into chicken on my plate, so I asked Kagwa, our guard, to show me how it's done.  The process didn't take long - it simply included the cutting of a neck, dunking the chicken in hot water, plucking the feathers, and gutting the insides.  Sure, it's not a pretty sight, but we should all know where our food comes from and what it takes to put a meal on our table.  This is eating local at its best.  My plate included meat from a chicken I raised myself; that is, until I actually tried to eat the thing and it was too tough to chew.  Apparently, that old hen was just a little too old.

Homemade bone broth

Bone broth is one of the most commonly-made food items in our household because 1) it's super easy, 2) it's used in several recipes, and 3) word has it, there are several health benefits. (I guess there's a reason your momma made you chicken noodle soup when you were sick.)

So here's the know-how:

Get some leftover chicken (or beef, turkey, etc.) bones (I'll keep them in the freezer until I'm ready to use them)
Get some leftover veggies and herbs (or collect your veggie ends in a bag in the freezer until ready to use)

Put everything in your slow cooker and douse it in about a tablespoon of apple cider vinegar, which supposedly "leeches" out the nutrients.  Put in just enough water to cover everything, and put your slow cooker on low.  I'll leave the slow cooker on while I sleep or when I'm at work, for at least 8 hours.  You'll wake up or come home to the most delicious and comforting smell!  Strain the bones and veggies out and voila!  You have a yummy and healthful broth.  You could drink it as is, or put it in the freezer for future use.  I mostly use the broth for soup recipes, giving mymeals a richer flavor and a more healthful kick.

Before cooking

After cooking

DIY solar dehydrator and sundried tomatoes

And by DIY, I mean I told my husband what I wanted, and he explained the design of this solar food dehydrator to our carpenter, who made it for us.  But I looked up the design online after seeing one at a lodge here in Uganda, so I think that counts for something.

Anyway, if you're the craftsman type or you have a carpenter who you can call, here's an idea for how to harvest the sun to dehydrate and preserve your own food.  I'm still experimenting, but my first success was with sun dried tomatoes.  It took a few days for them to dry out enough, and I then used some of my dried herbs, garlic, and salt to season them while preserving them in a glass bottle with olive oil.  We used them to top some pesto pasta.

Next up, dried fruits.