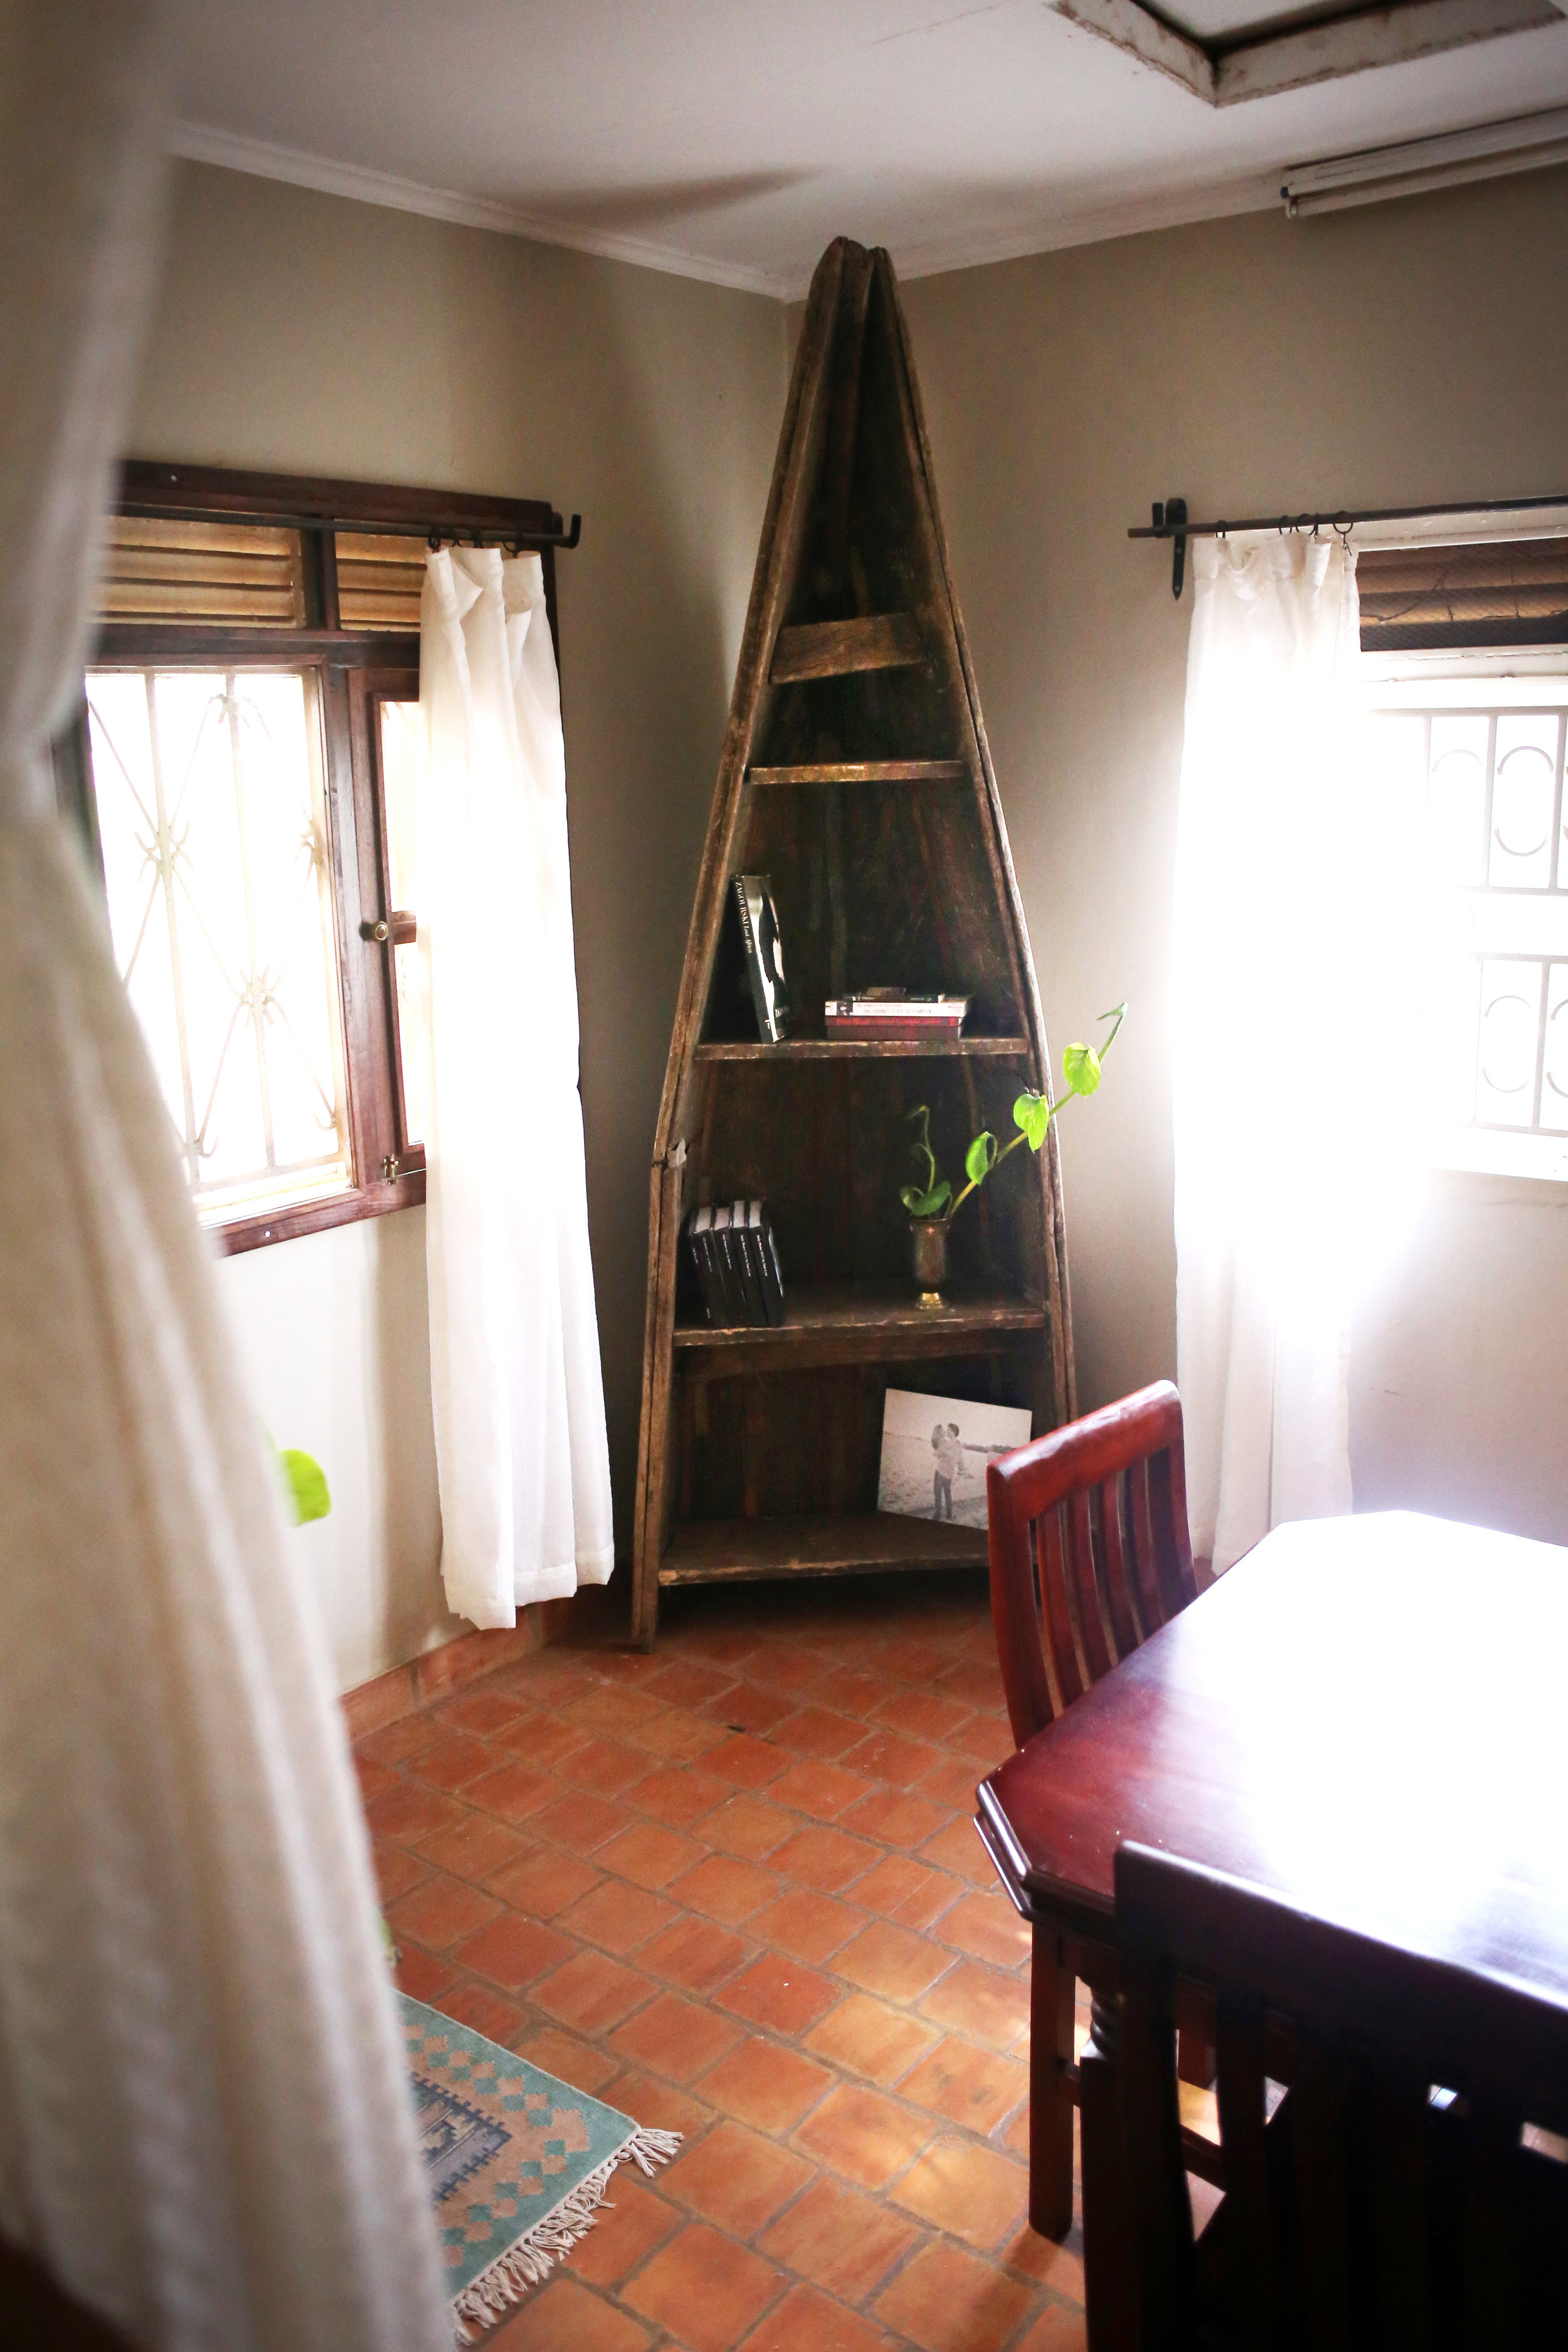
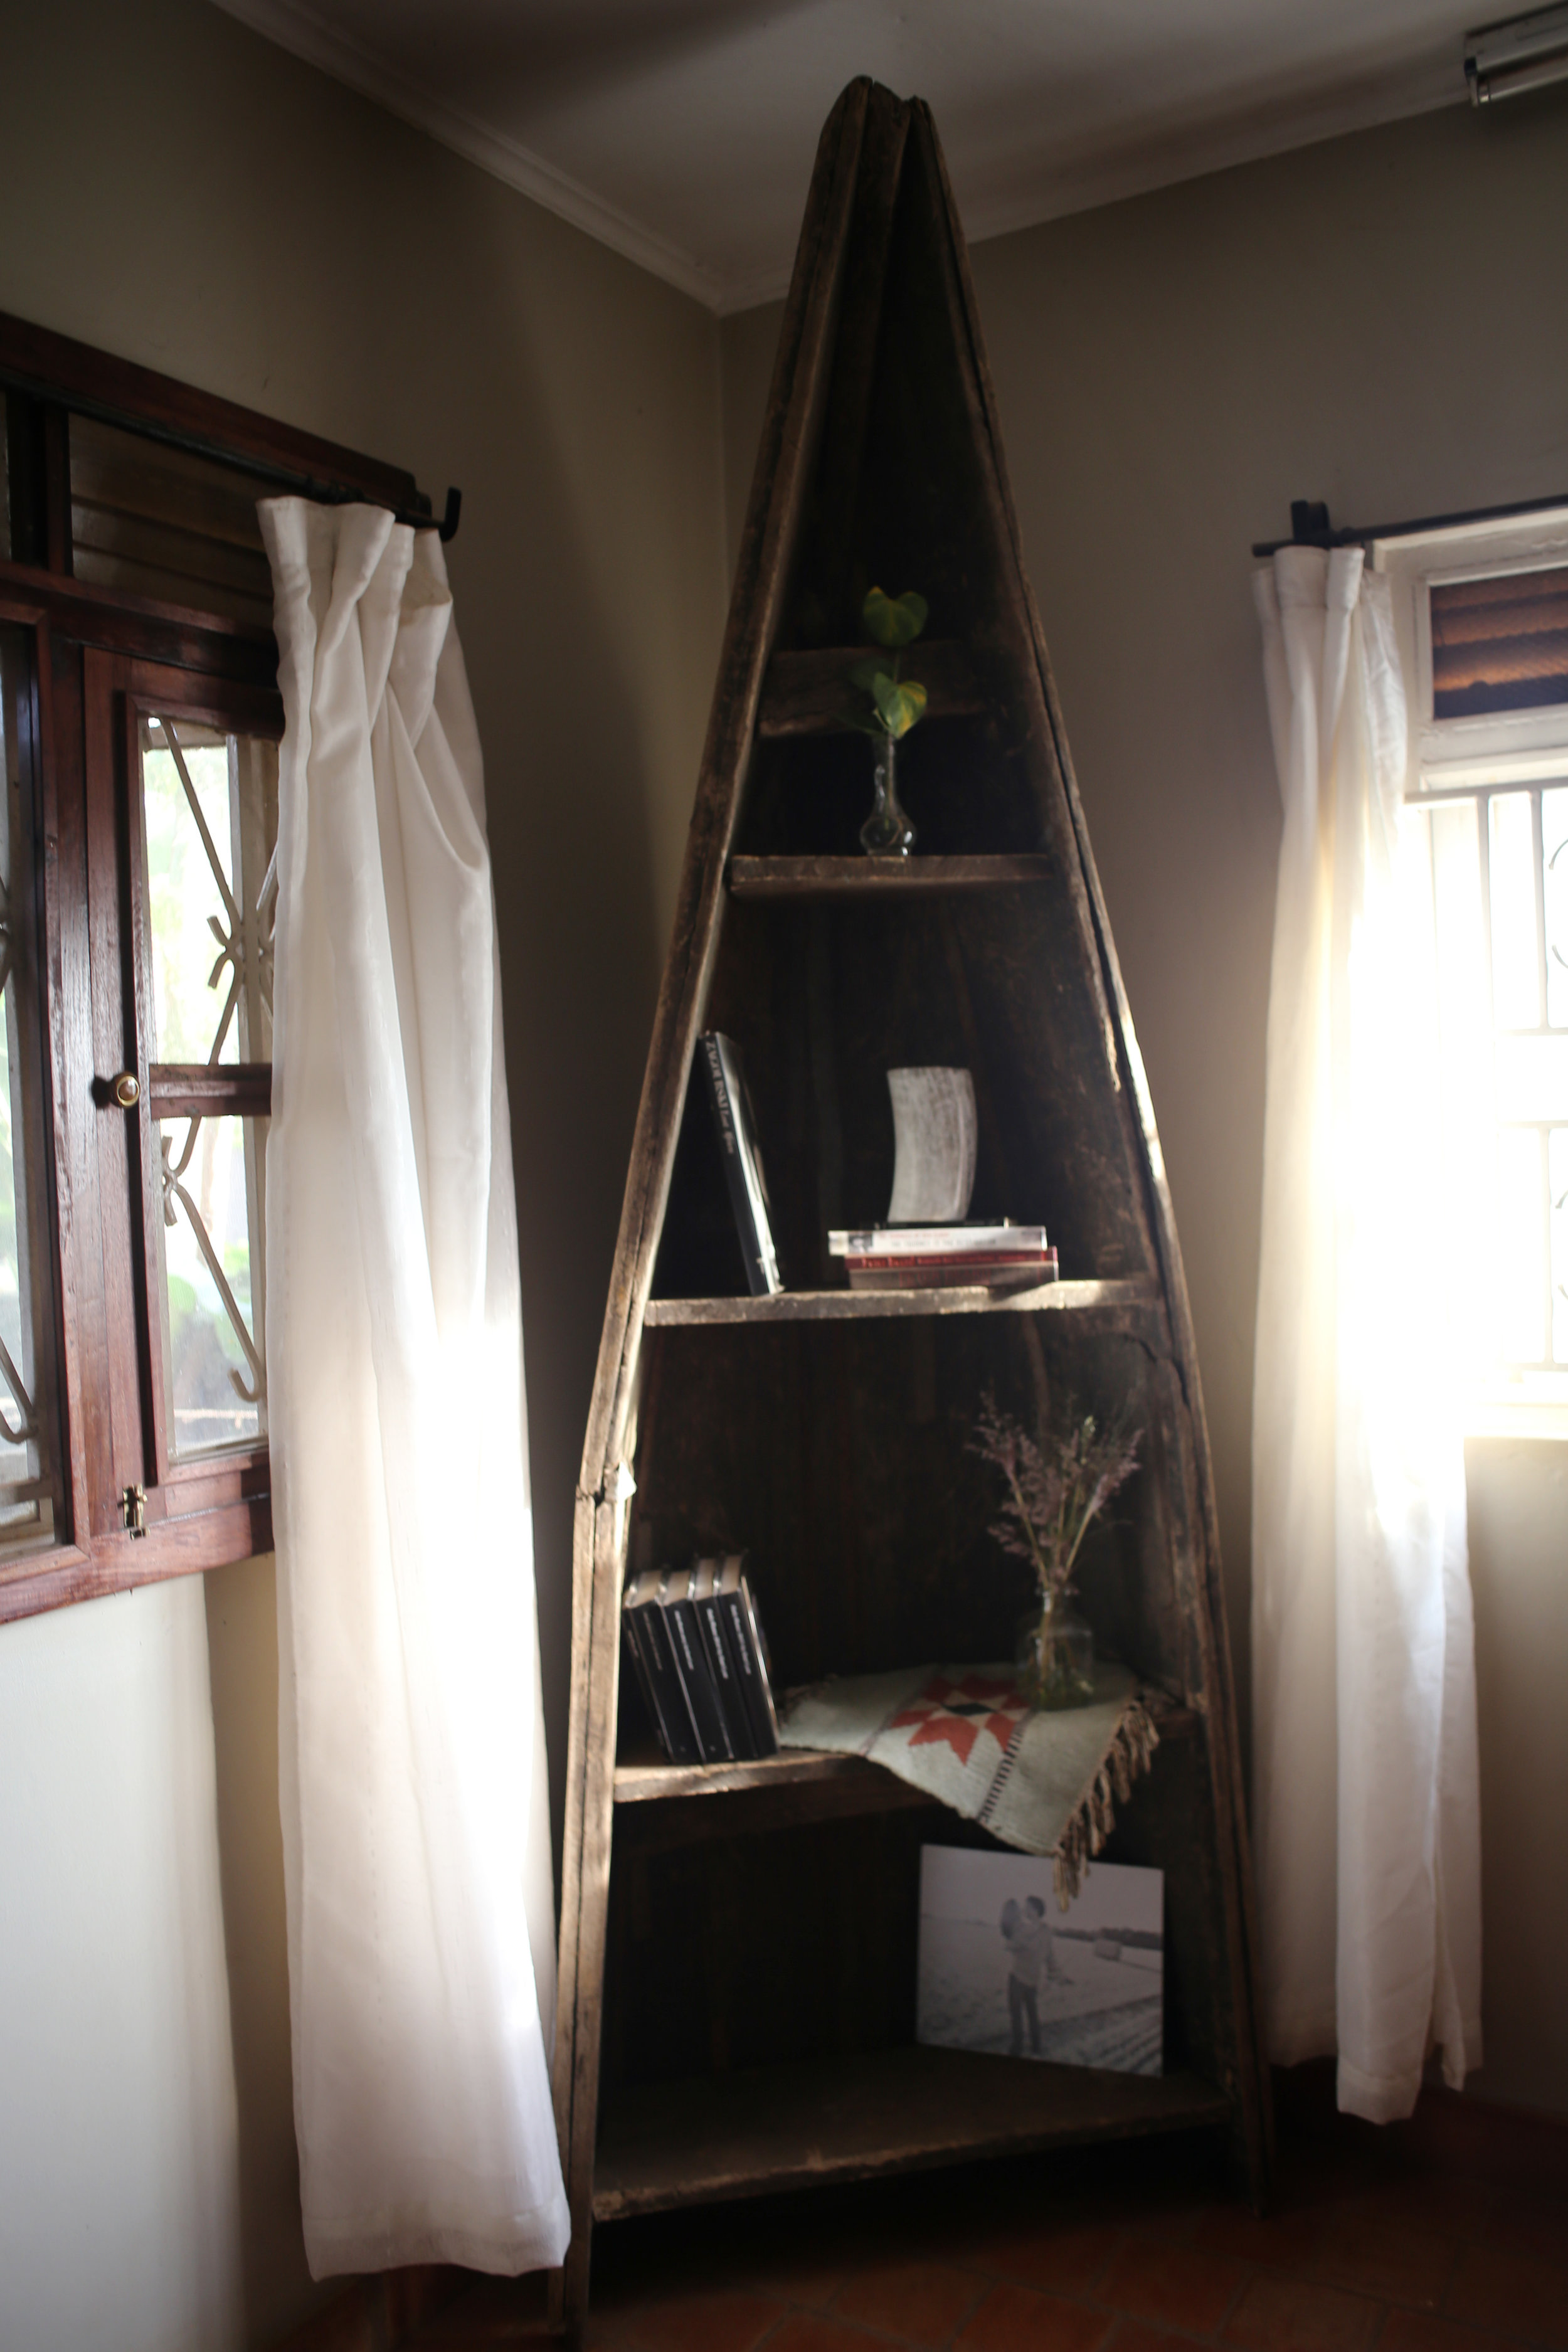
DIY boat bookshelf

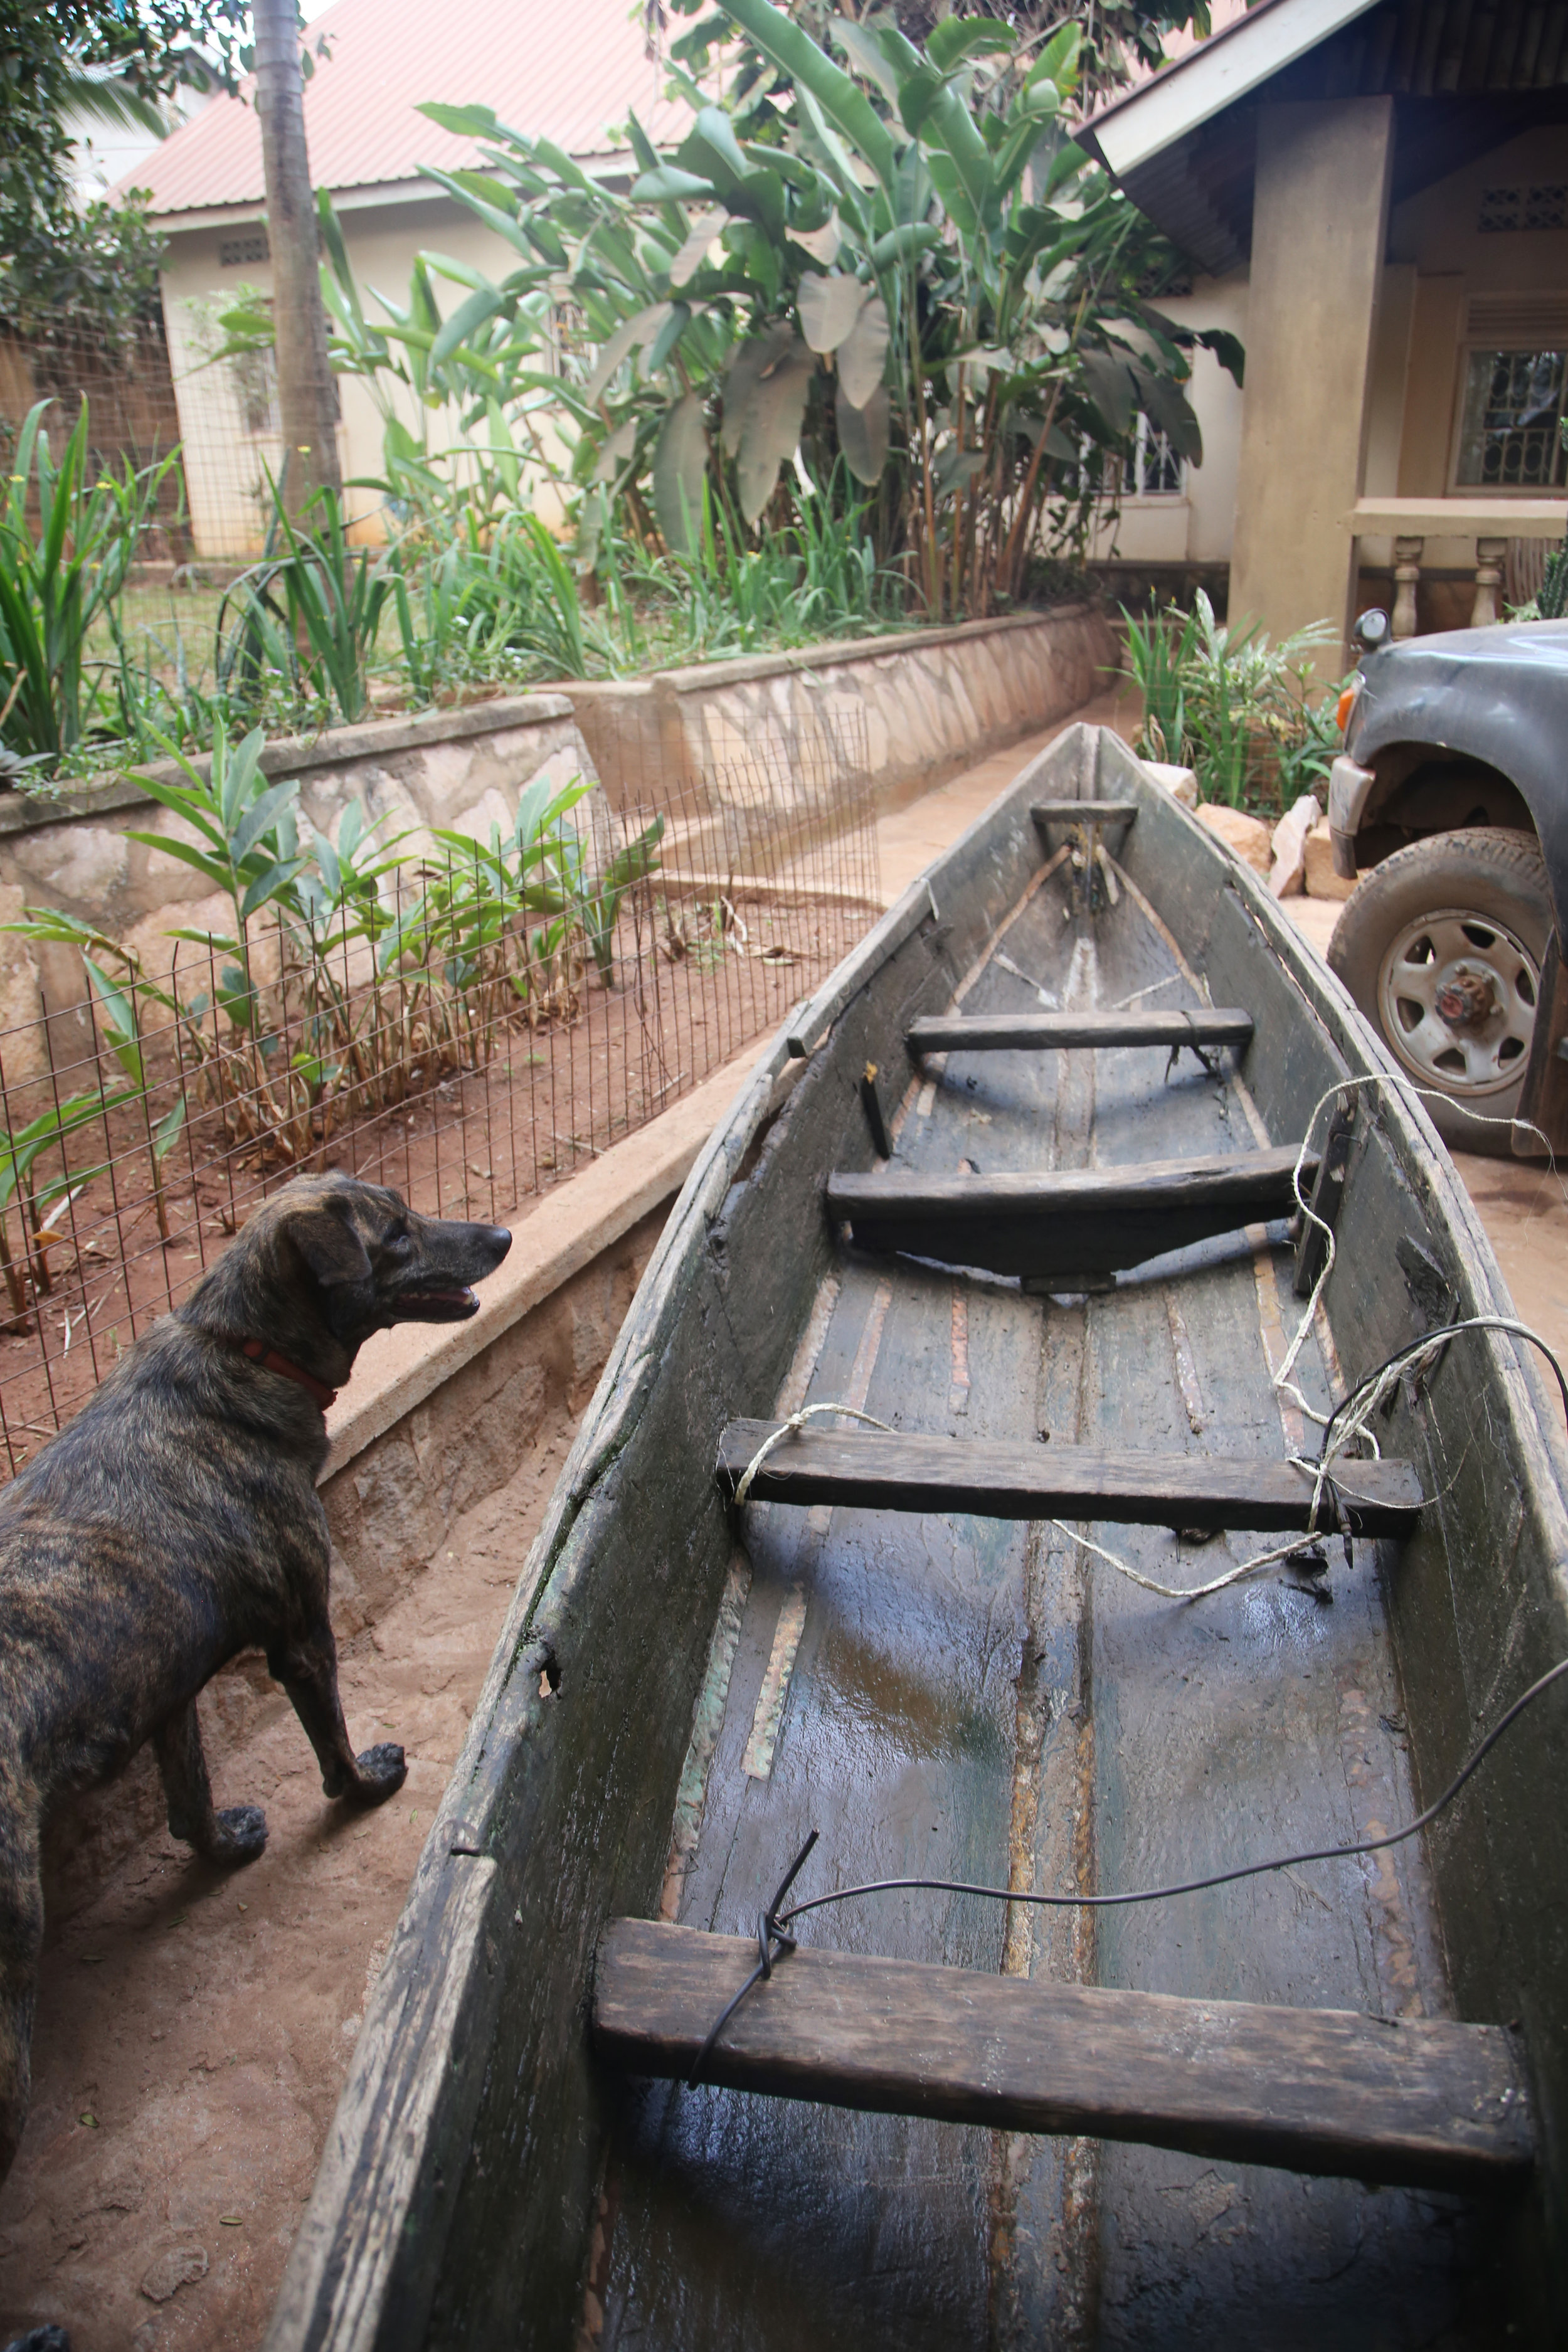
Last July, Eric and I drove out to Lake Victoria to pick out an old fishing canoe as our anniversary gift to one another.  We saw an old one with lots of holes, half-sunk and rotting away on the banks of the river, with several pieces of trash floating in its mucky water.  It was the one for us.

This sounds like a strange anniversary gift, I know.  But we had a project in mind, so we got the help of several locals to load the boat on top of the truck, unsure if we could make it home with the huge load.  We were told to have an "African heart" and that it would all work out.  Our carpenter friend rode along with us, calling out the window to everyone along the way who were giving us strange looks, "Da flood is coming! This is Noah!" Despite the excitement, we managed to avoid all traffic police and we took every bump and pothole along the way as slow as we could, and we made it home with our rickety boat in one piece.

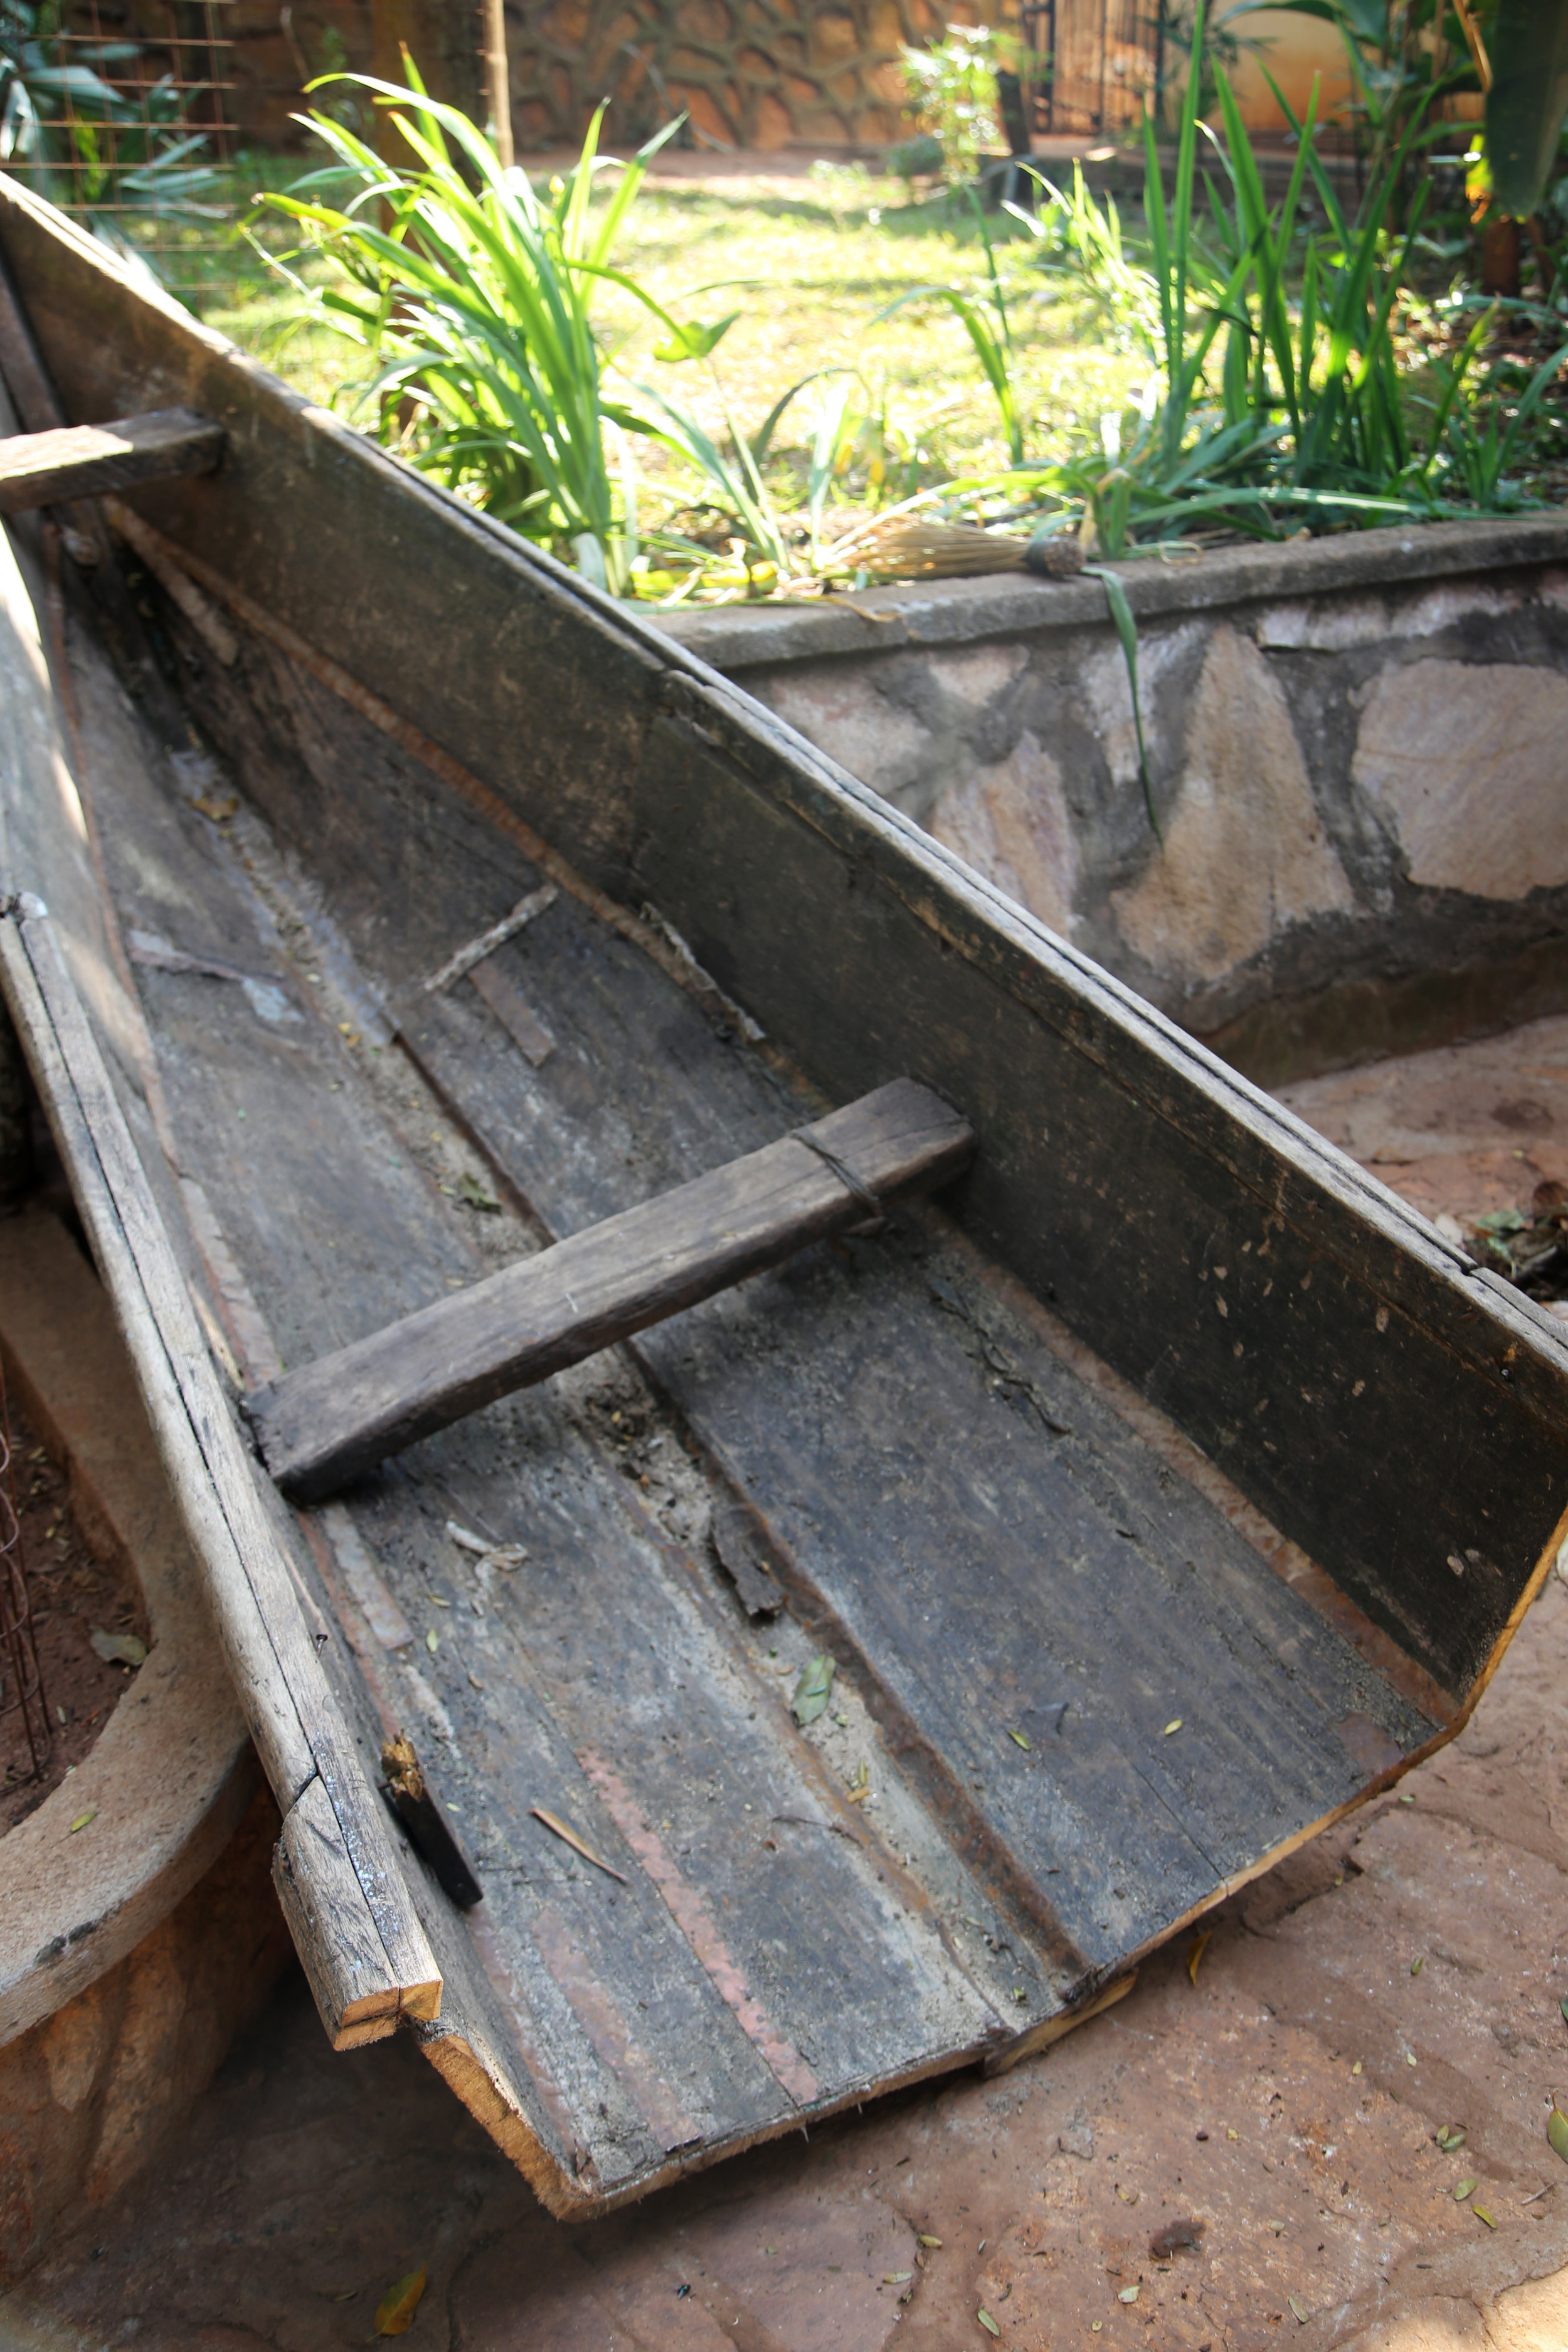
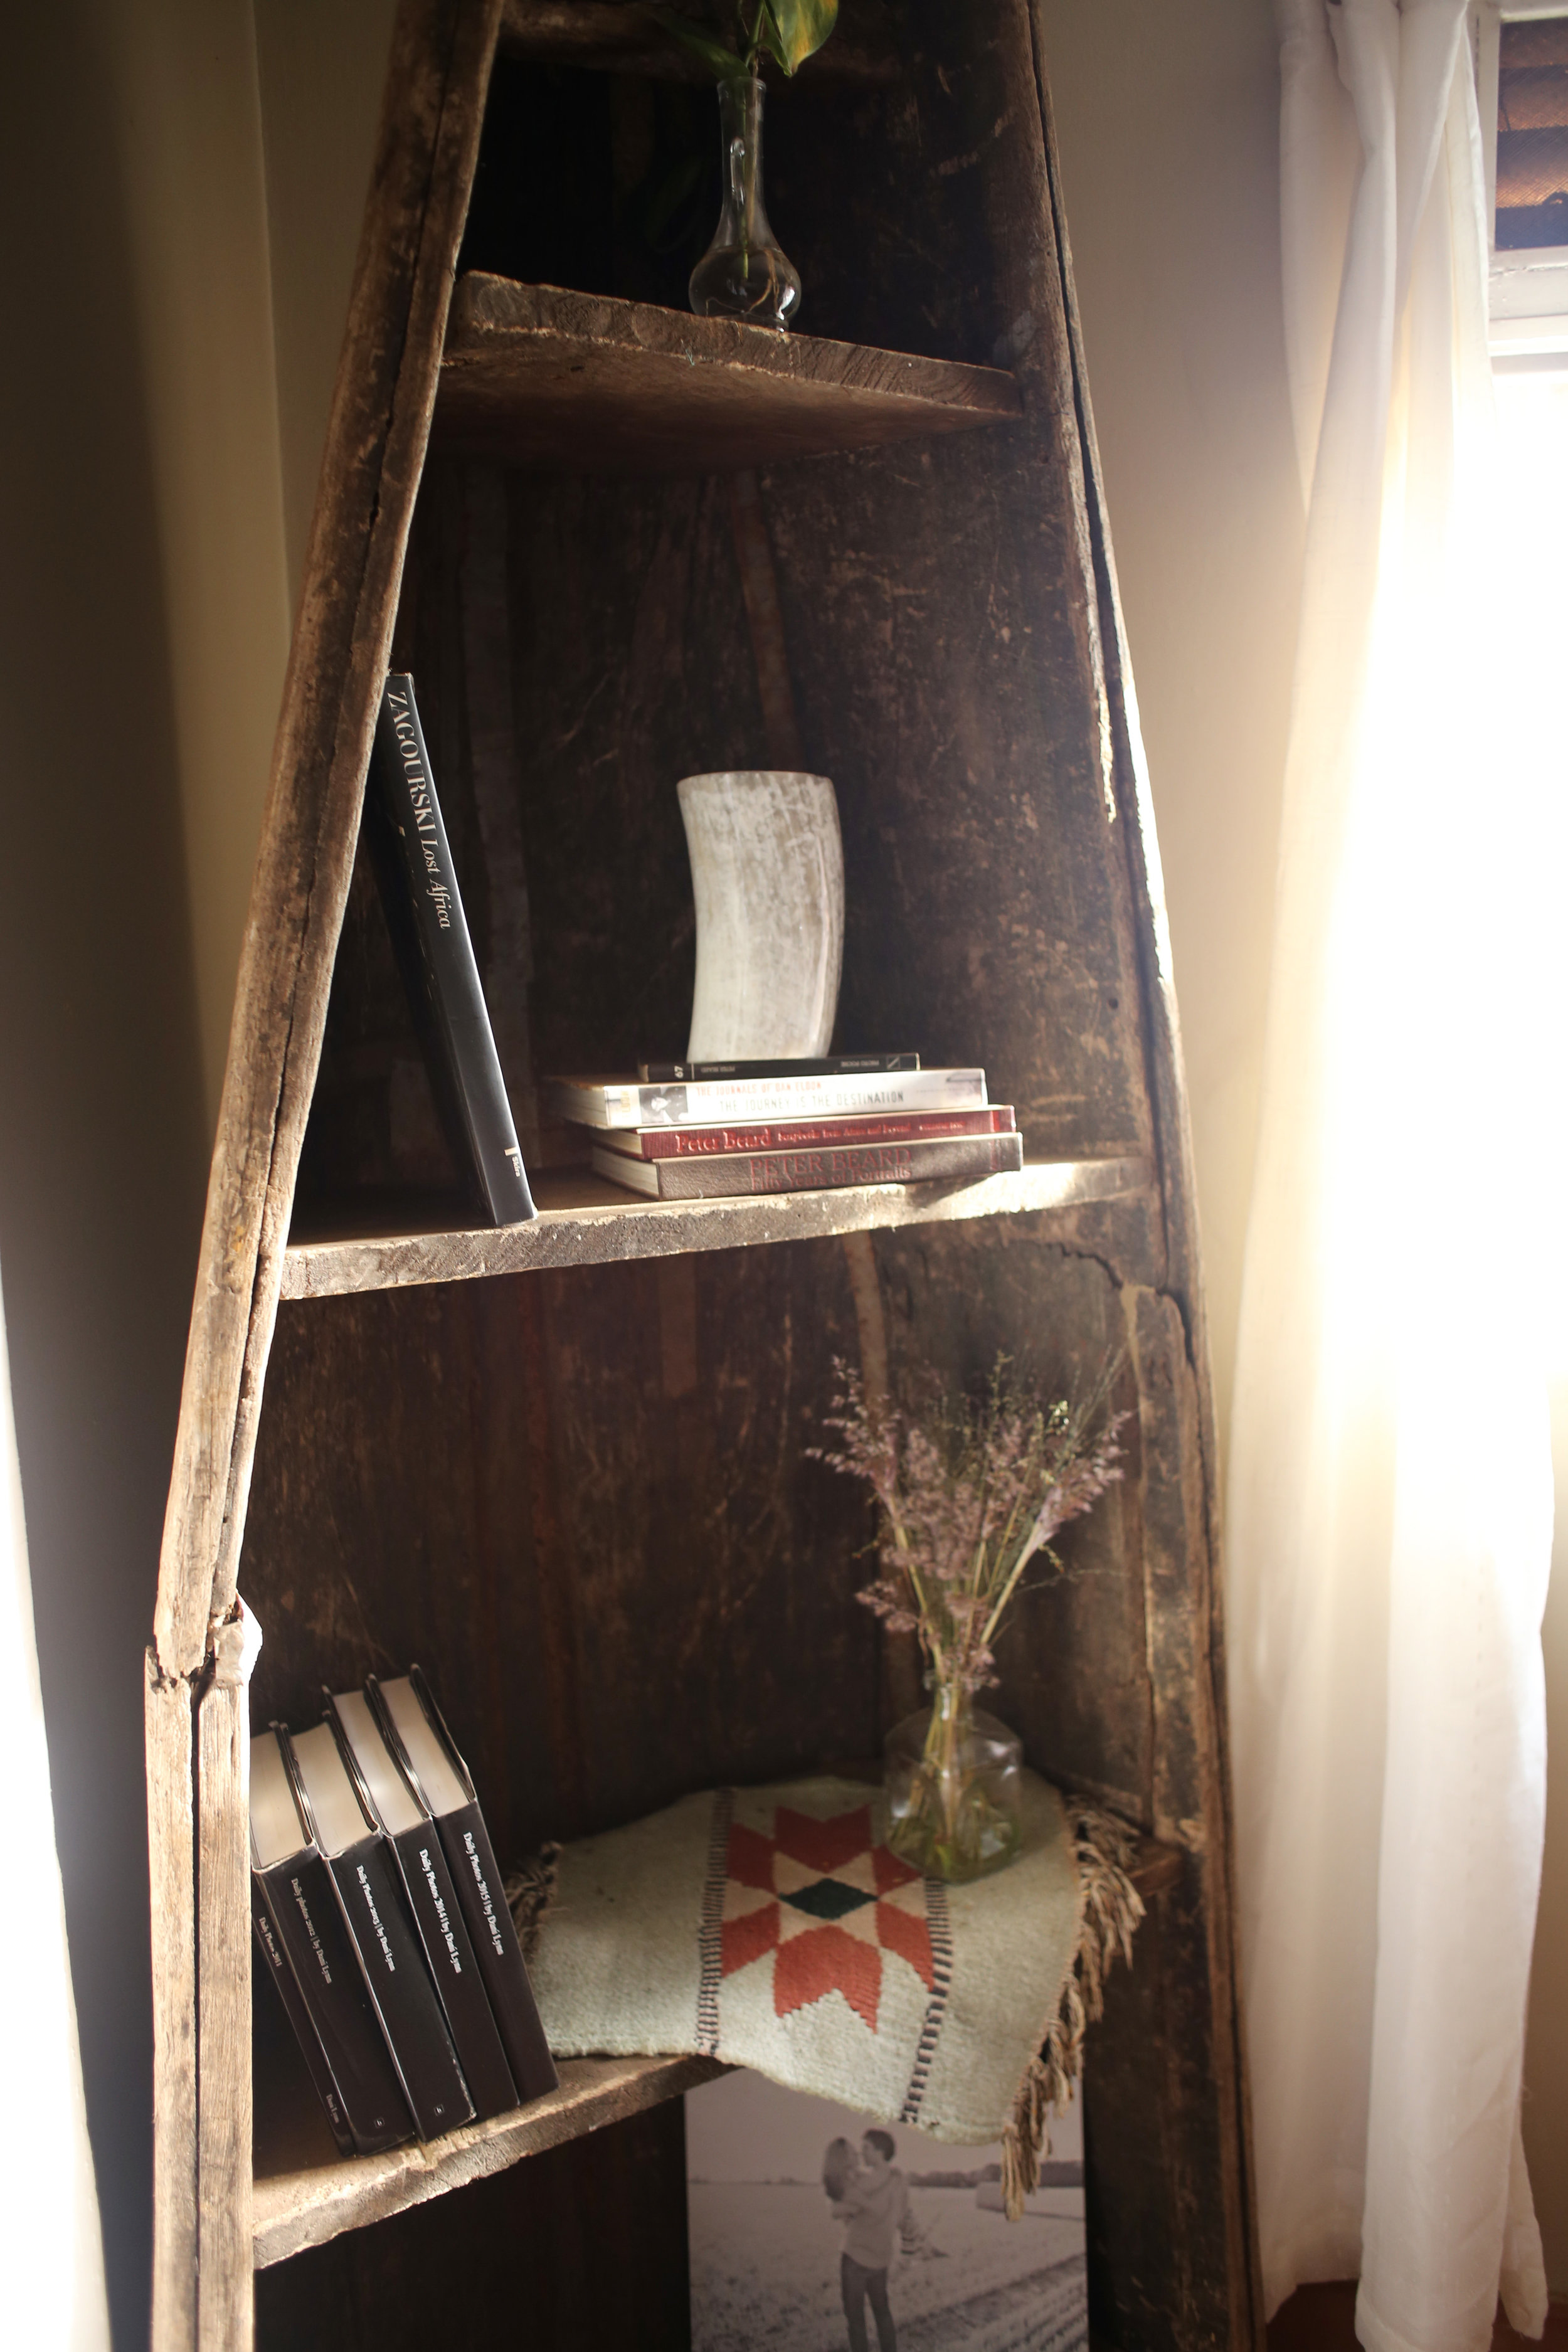
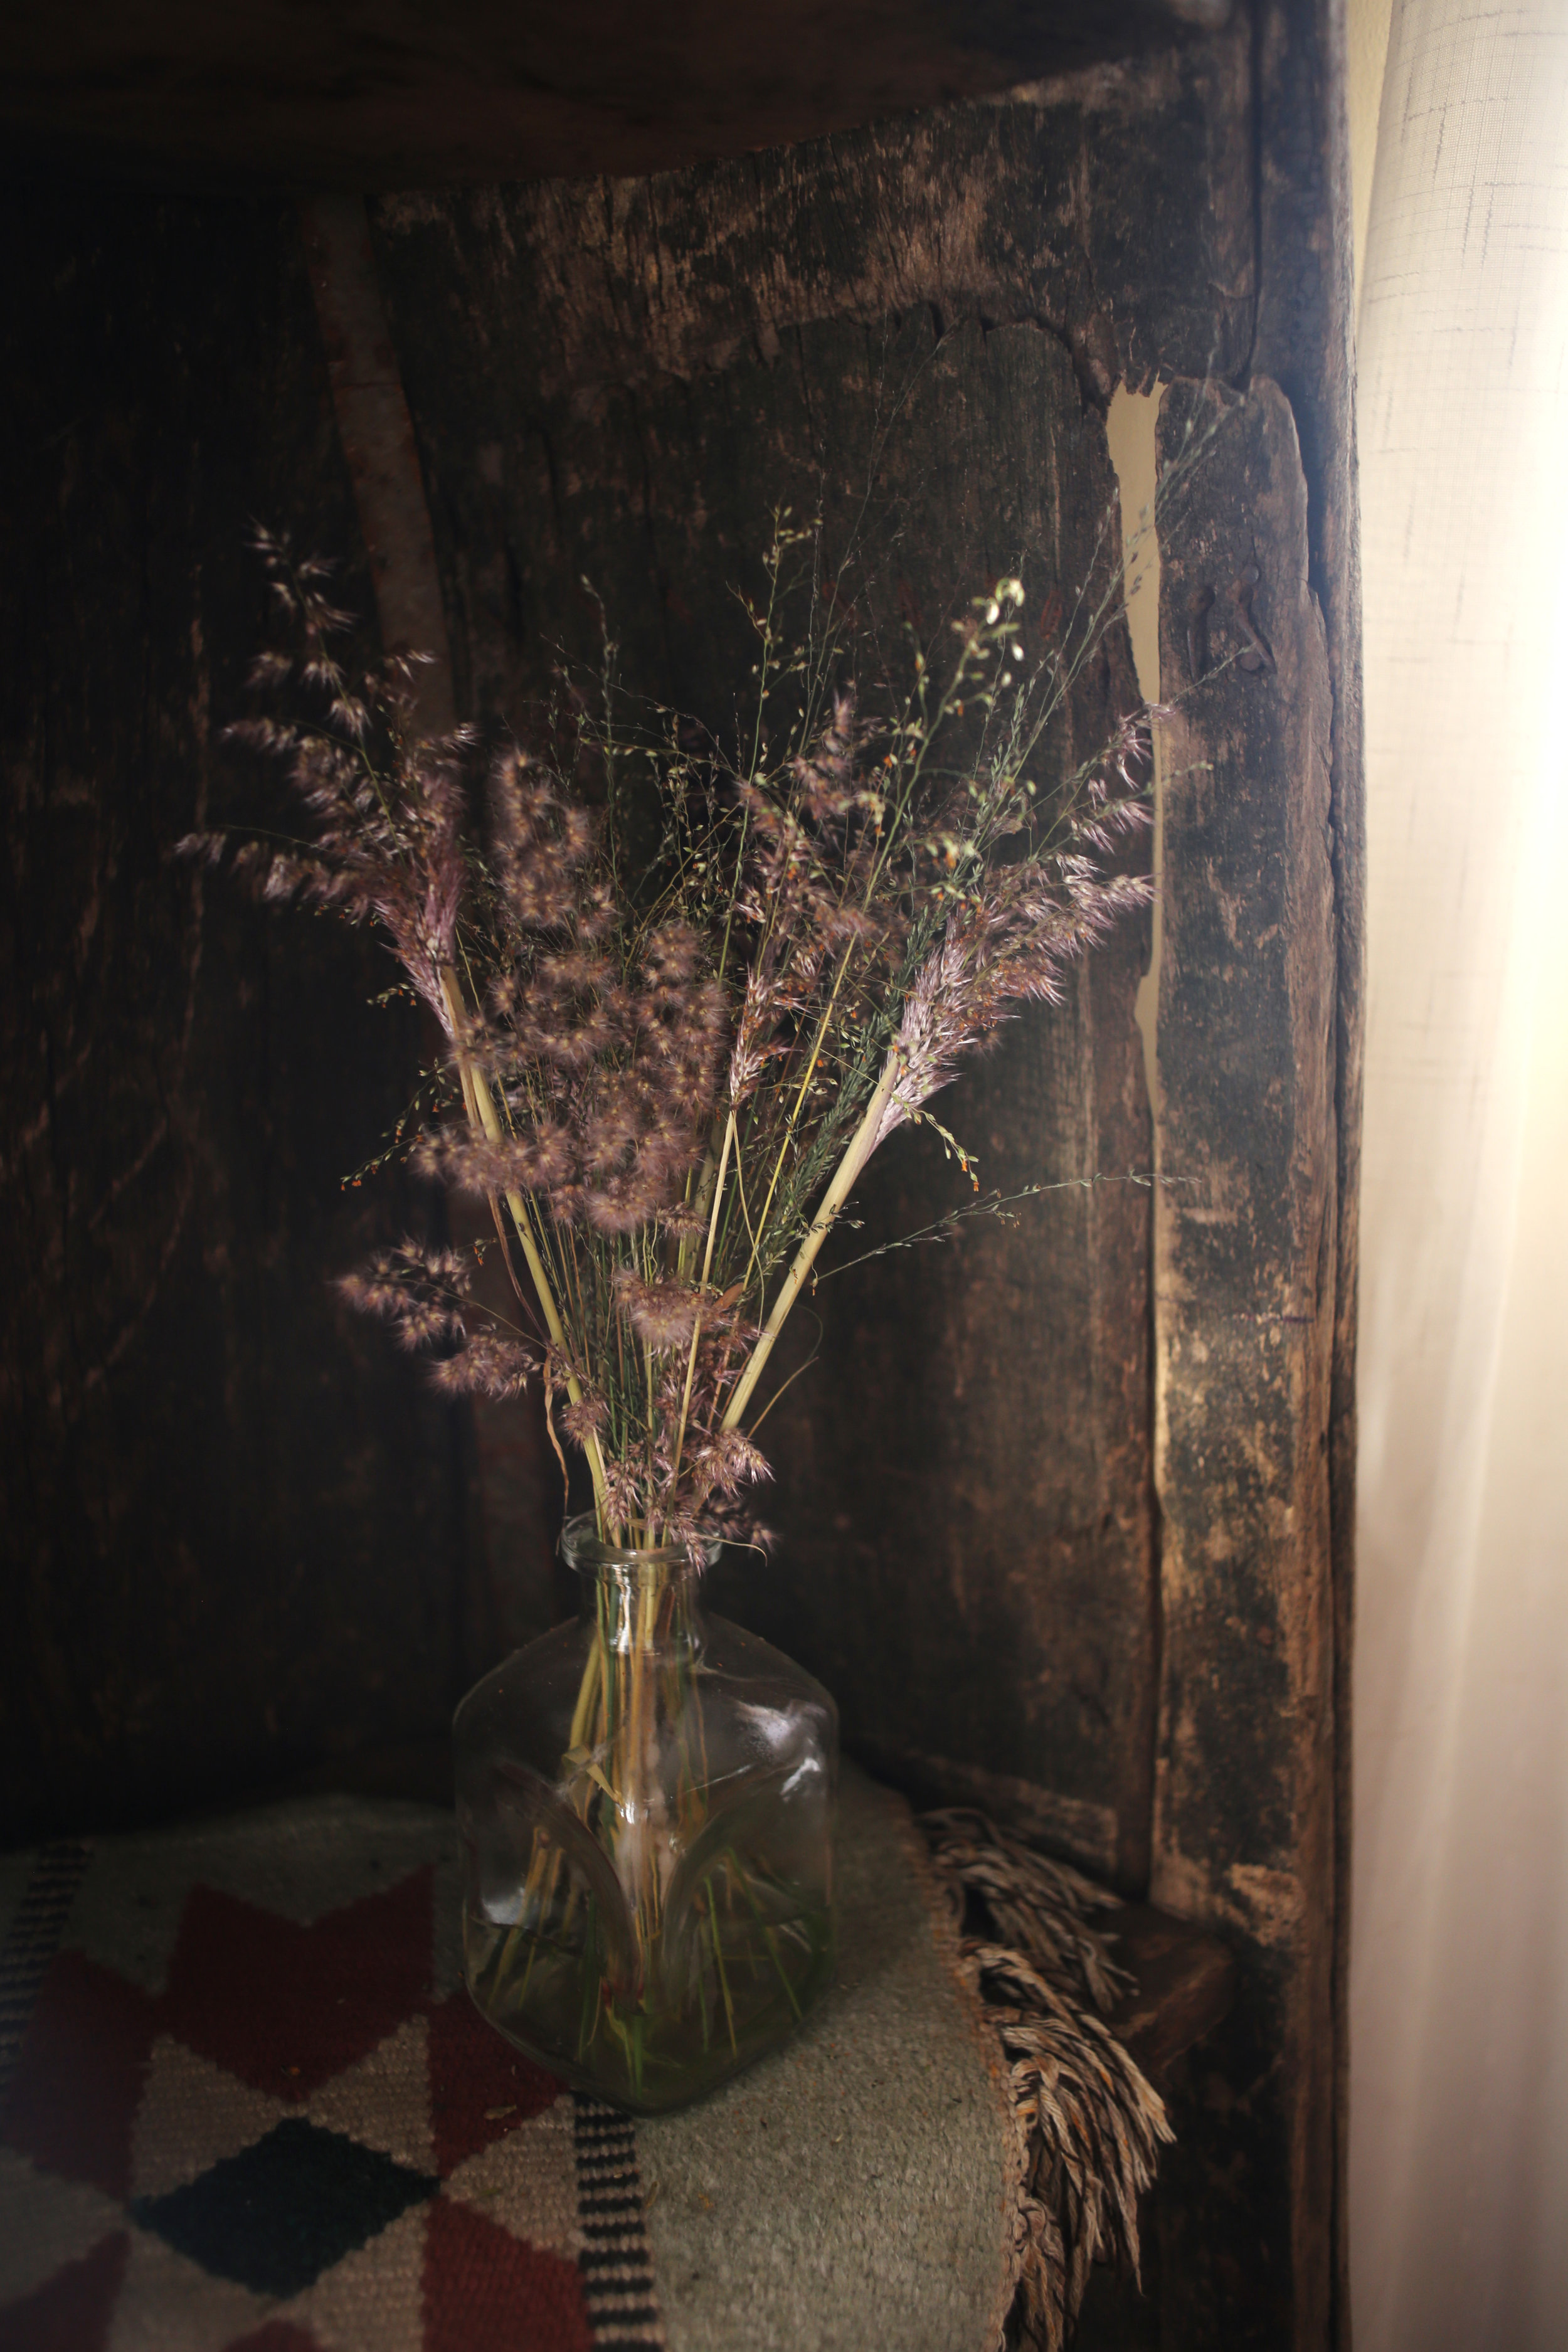
It was not in one piece for long.  After unloading our rotting treasure, our carpenter cut the canoe in half and there we left it, sitting in our yard waiting for the wood to dry out.  Several weeks later, the carpenter came back and nailed a few planks into each side of the boat to make shelves.  And viola!  Our anniversary gift to each other - now a unique bookshelf with a story - adorns the corner our dining room and may just be our favorite piece of furniture.

DIY solar dehydrator and sundried tomatoes

And by DIY, I mean I told my husband what I wanted, and he explained the design of this solar food dehydrator to our carpenter, who made it for us.  But I looked up the design online after seeing one at a lodge here in Uganda, so I think that counts for something.

Anyway, if you're the craftsman type or you have a carpenter who you can call, here's an idea for how to harvest the sun to dehydrate and preserve your own food.  I'm still experimenting, but my first success was with sun dried tomatoes.  It took a few days for them to dry out enough, and I then used some of my dried herbs, garlic, and salt to season them while preserving them in a glass bottle with olive oil.  We used them to top some pesto pasta.

Next up, dried fruits.

My natural beauty regimen

A couple of years ago, I began experimenting with how to replace my conventional store-bought beauty products with simple, natural, and often homemade alternatives.  Some experiments worked well from the beginning and others took several tries and several months to get right.  I'm still learning which products work well for which function, but I've figured out several natural beauty and self-care routines.

I would love to share with you my complete natural beauty regimen:

First, DIET trumps all.  Ever since the day I was asked to prom, I used a prescription benzoyl peroxide cream to deal with my acne, but several years later, I was tired of trying to find a way to get it in Uganda, so I went off the prescription and tried a plethora of other methods.  My acne was persistent.  It was cycstic and deep and embarrassing and it hurt.  I was so over it, and I lamented about it upon my first visit to a nutritionist.  She had me drastically change my diet to what we all know we would do - cut out processed grains, reduce my dairy and sugar intake, and eat more fresh fruits and veggies. My face hasn't been the same since and I often get compliments on my skin!  Of course, a healthy diet improves your life and your looks in many other ways.  Beauty truly starts from the inside.

Second, learn to love your looks. "If tomorrow, women woke up and decided they really liked their bodies, just think how many industries would go out of business."                                               – Dr. Gail Dines

Face care: I used to wash my face twice a day and I had quite the collection of washes, creams, acne spot fighters, and the like.  But now with a much better diet, I simply wipe a cotton ball doused in witch hazel on my face as an astringent, followed up by a few drops of jojoba oil as a moisturizer.  Just last week, I was told my face had a glow!

Hair care: I've shared my low-maintenance, natural hair care routine before.  The "no poo" method of baking soda and apple cider vinegar has worked quite well for me for nearly 2 years now!

Hair styling: I have naturally wavy hair and now, instead of using mousse and gels to encourage those beach waves and discourage the frizz, I simply put a tablespoon of epsom salt into a spray bottle and spritz my hair when it's still damp.  Use scented epsom salts for a bonus.  I prefer chamomile!

Deodorant:  Along with my prescription face creams, I also went through middle school and high school with a strong prescription deodorant.  It may have saved me some embarrassment during those awkward years, but the once-weekly application burned the hell out of my armpits and probably didn't do me any favors in my long-term health.  After a failed attempt at making my own deodorant, I now just spray on some magnesium oil and it does the trick just fine!  And the absorption of extra magnesium is a bonus!

Skin care: I wash with any natural soap that suits my fancy, usually one I come across in my travels that is handmade. There are many.  I sudz up with the natural loofahs that are grown in Uganda then ditch the lotion in favor of the very beneficial pure shea butter, also grown and made in Uganda.  The natural skin care options here are lovely.

Mole removal: I've successfully used the apple cider vinegar method in removing unwanted moles, but please check with your doctor first!  You'll want to be sure there are no cancerous cells.

Bath time: I soak in a tub with epsom salts, which are known to help relieve aches and pains, as well as give some extra magnesium absorption.

Lip care:  With a few ingredients, I now make my own homemade lip balm.

Do you have any natural self-care regimens you have used successfully?
My DIY ordeal/adventure

The difference between an adventure and an ordeal is attitude.
— Bob Bitchin

Not long after we moved into our home, I attempted to get a cow skin rug and a cow skull as decor pieces.  This was not supposed to be a DIY project, but it certainly turned out to be one.  This post is probably not a helpful one if you're looking to DIY your own cow hide, but it is the story of an ordeal that, with a little humor, turned into an adventure and a couple of impromptu DIY projects that turned out to be "good enough."

It all started by taking Eric's cousin on a photo "safari" in Kampala, along the railroad tracks.  I had never explored the area and thought it would be a great excuse to take pictures of whatever could be there.  Soon, we ran into a flock of the very ugly maribu storks, known to be Kampala's trash eaters, and I wondered what brought them to this place.  After looking around a bit, we were pointed to the maribu storks' attraction - Kampala's slaughterhouse. 

Well, one thing led to another, as they often do, and soon I was promised that the next morning I could come by and pickup a cow skin and skull.  I thought it was a deal.  I thought my entryway would look great with a cow skin rug and I would surely find a cool place to hang a skull with the long, dramatic Ankole horns.  I thought I would swing by and pick up these items, shiny and neat and ready to adorn my home.

To make a long story short, there was nothing shiny or neat about my cow skin and skull the next morning.  I was told to follow my new butcher friend as we weaved our way through the various sections of the slaughterhouse and I was handed my very fresh, very raw pieces, right off the cow.  The skull had eyes, a tongue, and skin, all of which I convinced them to remove, and the hide had fat and blood still dripping from it.  It wasn't long before I was sitting on a boda boda, weaving through Kampala's streets while holding an enormous cow head, it horns straddling me, baffled at what just happened and clueless as to what to do with these fresh cow parts.

Picking out my own cow hide


The skin is in the yellow bag on the back and the cow skull...well...there it is.


When I reached home, I stared at my newly-purchased goods, wondering what I just got myself into.

Step one: Change my clothes, which were now covered in blood
Step two: Google

The first thing I discovered was I would have to act fast with the cow hide, or it would start rotting within a few hours.  At the very least, I needed to stretch the skin, cut off the fat, and pour salt all over it, so I lugged it around my yard, attempting to hang it, but it was so wet and heavy, I couldn't manage alone.  An hour or so later, I finally called the guy who sold it to me and asked him to come do the work.  Meanwhile, my method for cleaning up the skull simply involved letting my dogs have their way with it.


My attempt at hanging and stretching the hide.  Fail.


The stretched hide on our porch, with salt all over it.

The skull, after the dogs ate off the good stuff.

After a couple of days, we put the skull in an old latrine in our back yard, hoping the ground critters would do the rest of the work to clean it up.  It lay there, largely forgotten about, for about 2 years.

The next week, the hide was dry. It was hard and a little crisp - certainly not the nice tanned hide I had wanted, but it still looked nice in our entryway, so I called it good enough.

Just last week, we pulled the cow skull out from its forgotten hideaway and cleaned the dirt off with a brush, soap, and water.  It is by no means shiny and polished, but when placed beside our hippo skull and two impala skulls, it adds some intrigue to our home.  Again, I will settle for "good enough."

The day I picked up my animal parts turned out to be one of the more absurd days of my life in Uganda.  It definitely did not go as planned, but it did provide me the opportunity to learn something new and practice my pioneer woman skills.  I suppose I can now look back on the ordeal, laugh at myself, and call it an adventure.

Knitting Frenzy

Since I've been home in Indiana, I've been in a bit of a knitting frenzy.

Before, I could only knit something in the shape of a square or rectangle, but now look at me go!  I've made a few garments for myself and some cute little things for Toto.  With the extra time on my hands while we still await the baby's arrival, I scour the web for more patterns and try to keep myself sane by knitting away.

Donna poncho by Tahki Stacy Charles, Axis vest by Shibui Knits, and Camp tank by Malikoo

Top knot hat by Mack and Mabel, baby mitts by Spud and Chloe, bitty baby booties by Small + Friendly

Baby pants by Pa Avigsidan, Diaper covers by Tricksy Knitter

Also, I keep reading this beautiful article over and over.